 مرکز راهنمایی LTS Connect
PTZ Control
Complete guide to PTZ Control for the Turbo HD DVR GUI 4.0, covering the PTZ Control Wizard, configuring PTZ parameters, presets, patrols, patterns, linear scan limits, one-touch park, and auxiliary functions.
PTZ Control Wizard
Before you start: Please make sure the connected IP camera supports the PTZ function and is properly connected.
Purpose: Follow the PTZ control wizard to guide you through the basic PTZ operation.
Click  on the quick settings toolbar in the live view interface. The PTZ control wizard will pop up as below.
View the wizard
The PTZ Control Wizard opens automatically and shows four quick-use hints.
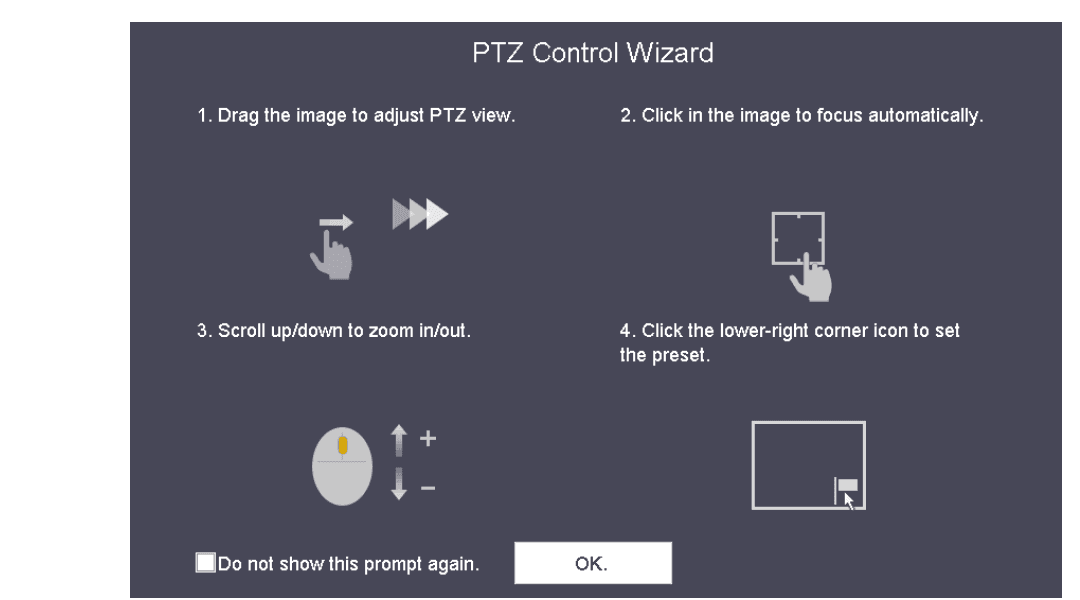
Figure 6-1 PTZ Control Wizard
Follow the wizard
Follow the wizard to adjust the PTZ view, focus, and zoom in/out the camera.
Dismiss the prompt
(Optional) Check Do not show this prompt again.
Exit
Click OK to exit.
Configure PTZ Parameters
Purpose: Follow the procedure to set the parameters for PTZ. The configuration of the PTZ parameters should be done before you control the PTZ camera.
Open PTZ control
Click on the quick settings toolbar in the live view interface. The PTZ control panel displays on the right of the interface.
Open PTZ Parameter Settings
Click PTZ Parameters Settings to set the PTZ parameters.
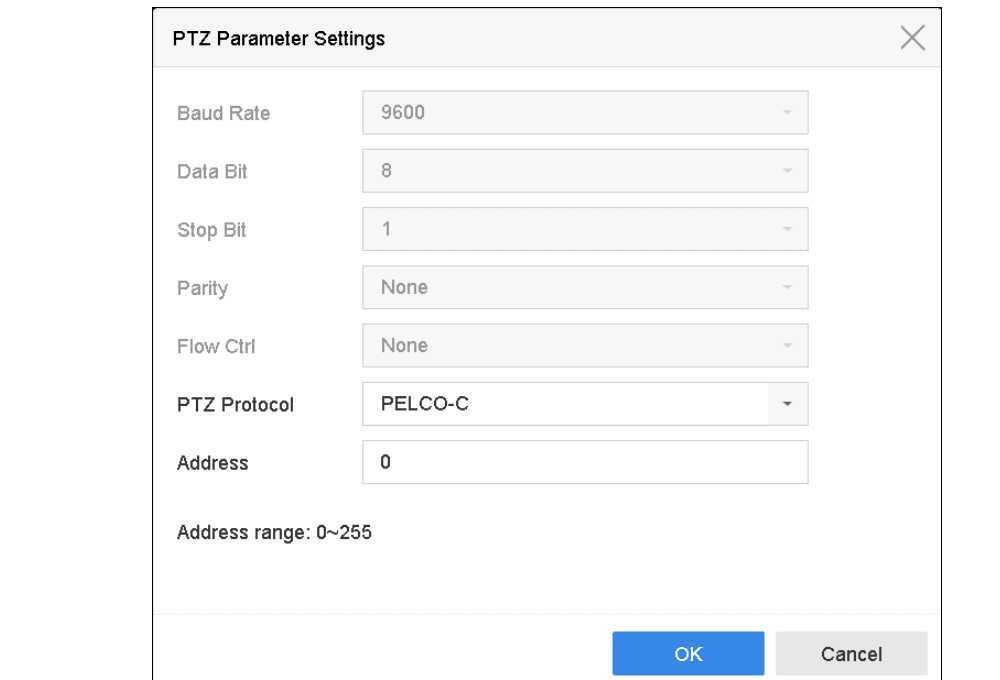
Figure 6-2 PTZ Parameters Settings
Edit the parameters
Edit the parameters of the PTZ camera.
All the parameters should be exactly the same as the PTZ camera parameters.
Save
Click OK to save the settings.
Set PTZ Presets, Patrols & Patterns
Before you start: Please make sure that the presets, patrols and patterns should be supported by PTZ protocols.
Set a Preset
Purpose: Follow the steps to set the preset location which you want the PTZ camera to point to when an event takes place.
Open PTZ control
Click on the quick settings toolbar in the live view interface.
Position the camera
Use the directional buttons on the PTZ control panel to wheel the camera to the location where you want to set a preset. The zoom and focus operations can be recorded in the preset as well.
Open Set Preset
Click  in the lower right corner of live view to set the preset.

Figure 6-3 Set Preset
Select the preset number
Select the preset No. (1~255) from the drop-down list.
Enter a preset name
Enter the preset name in the text field.
Apply the preset
Click Apply to save the preset.
Save more presets
Repeat steps 2–6 to save more presets.
View configured presets
(Optional) Click  in the lower right corner of live view to view the configured presets.

Figure 6-4 View the Configured Presets
Cancel
(Optional) Click Cancel to cancel the location information of the preset.
Call a Preset
Purpose: This feature enables the camera to point to a specified position such as a window when an event takes place.
Open PTZ control
Click on the quick settings toolbar in the live view interface.
Open Set Preset
Click in the lower right corner of live view.
Select the preset number
Select the preset No. from the drop-down list.

Figure 6-5 Call Preset (1)
Call
Click Call to call it.
Or click in the lower right corner of live view, and click the configured preset to call it.

Figure 6-6 Call Preset (2)
Set a Patrol
Purpose: Patrols can be set to move the PTZ to different key points and have it stay there for a set duration before moving on to the next key point. The key points are corresponding to the presets.
Open PTZ control
Click on the quick settings toolbar in the live view interface.
Open Patrol configuration
Click Patrol to configure patrol.
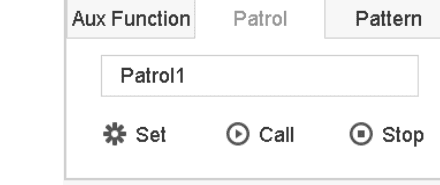
Figure 6-7 Patrol Configuration
Select patrol number
Select the patrol No. in the text field.
Enter Patrol Settings
Click Set to enter the Patrol Settings interface.
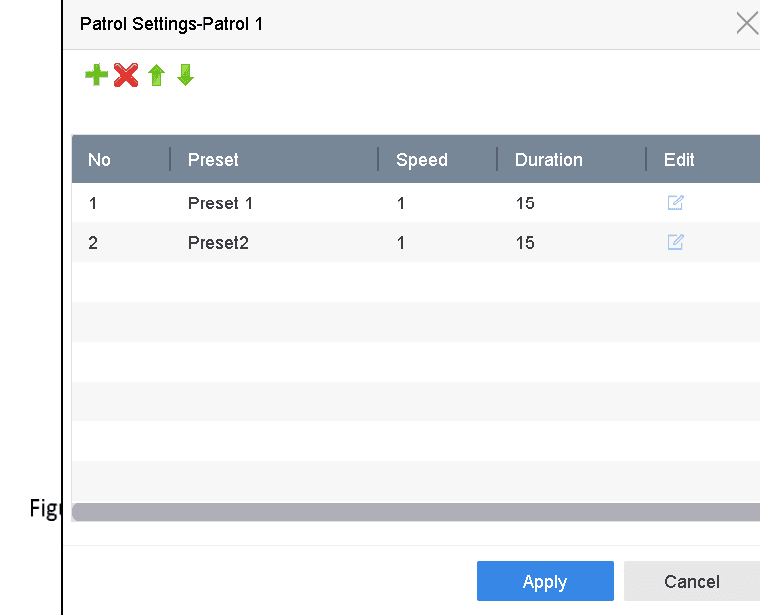
Figure 6-8 Patrol Settings
Add key points
Click + to add key points for the patrol.
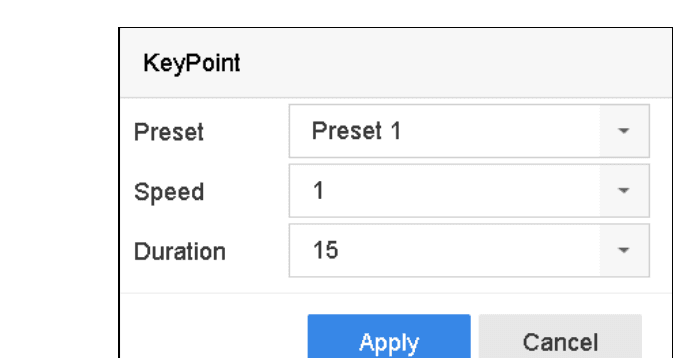
Figure 6-9 Key Point Configuration
Configure the key point parameters:
- Preset: It determines the order at which the PTZ will follow while cycling through the patrol.
- Speed: It defines the speed at which the PTZ will move from one key point to the next.
- Duration: It refers to the time span to stay at the corresponding key point.
Click Apply to save the key points to the patrol.
Edit a key point
(Optional) Click the edit icon to edit the added key point.
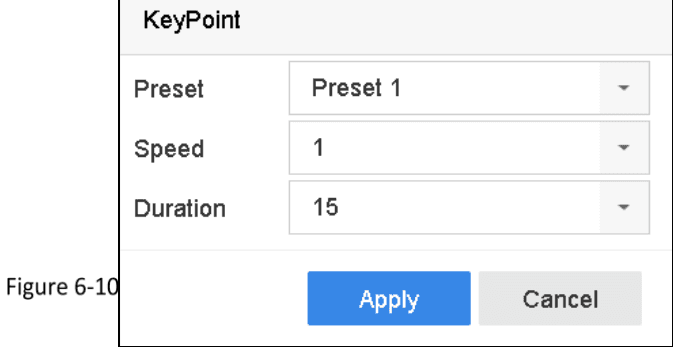
Figure 6-10 Edit Key Point
Delete a key point
(Optional) Select a key point and click X to delete it.
Reorder key points
(Optional) Click the up arrow or down arrow to adjust the key point order.
Save the patrol
Click Apply to save the settings of the patrol.
Add more patrols
Repeat steps 3–9 to set more patrols.
Call a Patrol
Purpose: Calling a patrol makes the PTZ to move according to the predefined patrol path.
Open PTZ control
Click on the quick settings toolbar in the live view interface. The PTZ control panel displays on the right of the interface.
Open Patrol configuration
Click Patrol on the PTZ control panel.
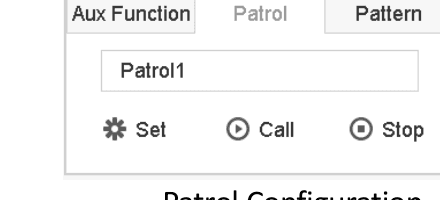
Figure 6-11 Patrol Configuration
Select a patrol
Select a patrol in the text field.
Call
Click Call to call it.
Stop
(Optional) Click Stop to stop calling it.
Set a Pattern
Purpose: Patterns can be set by recording the movement of the PTZ. You can call the pattern to make the PTZ movement according to the predefined path.
Open PTZ control
Click on the quick settings toolbar in the live view interface. The PTZ control panel displays on the right of the interface.
Open Pattern configuration
Click Pattern to configure pattern.
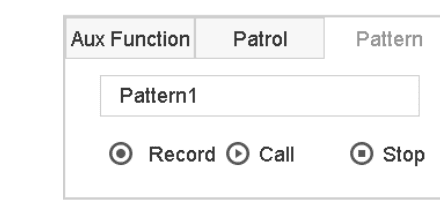
Figure 6-12 Pattern Configuration
Select pattern number
Select the pattern No. in the text field.
Set the pattern
Set the pattern.
- Click Record to start recording.
- Click the corresponding buttons on the control panel to move the PTZ camera.
- Click Stop to stop recording.
The movement of the PTZ is recorded as the pattern.
Save more patterns
Repeat steps 3–4 to set more patterns.
Call a Pattern
Purpose: Follow the procedure to move the PTZ camera according to the predefined patterns.
Open PTZ control
Click on the quick settings toolbar in the live view interface. The PTZ control panel displays on the right of the interface.
Open Pattern configuration
Click Pattern to configure pattern.
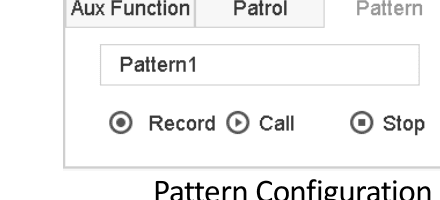
Figure 6-13 Pattern Configuration
Select a pattern
Select a pattern in the text field.
Call
Click Call to call it.
Stop
(Optional) Click Stop to stop calling it.
Set Linear Scan Limits
Before you start: Please make sure the connected IP camera supports the PTZ function, and is properly connected.
Purpose: The linear scan can be enabled to trigger the scan in the horizontal direction in the predefined range.
This function is supported by some certain models.
Open PTZ control
Click on the quick settings toolbar in the live view interface. The PTZ control panel displays on the right of the interface.
Set limit positions
Click the directional buttons to wheel the camera to the location where you want to set the limit. Click Left Limit or Right Limit to link the location to the corresponding limit.
The speed dome starts linear scan from the left limit to the right limit, and you must set the left limit on the left side of the right limit. The angle from the left limit to the right limit should be no more than 180°.
Call Linear Scan
Before you start: Before operating this function, make sure the connected camera supports the linear scan and is in specified protocol.
Purpose: Follow the procedure to call the linear scan in the predefined scan range.
Open PTZ control
Click on the quick settings toolbar in the live view interface.
Start linear scan
Click Linear Scan to start the linear scan and click again to stop it.
Restore
(Optional) Click Restore to clear the defined left limit and right limit data.
Reboot the camera to take the settings into effect.
One-touch Park
Before operating this function, make sure the connected camera supports the linear scan and is in specified protocol.
Purpose: For some model of the speed dome, it can be configured to start a predefined park action (scan, preset, patrol and etc.) automatically after a period of inactivity (park time).
Open PTZ control
Click on the quick settings toolbar in the live view interface.
Activate park action
Click Park (Quick Patrol), Park (Patrol 1) or Park (Preset 1) to activate the park action.
- Park (Quick Patrol): The dome starts patrol from the predefined preset 1 to preset 32 in order after the park time. The undefined preset will be skipped.
- Park (Patrol 1): The dome starts moving according to the predefined patrol 1 path after the park time.
- Park (Preset 1): The dome moves to the predefined preset 1 location after the park time.
The park time can only be set via the speed dome configuration interface. The value is 5s by default.
Stop park
Click Stop Park (Quick Patrol), Stop Park (Patrol 1) or Stop Park (Preset 1) to inactivate it.
Auxiliary Functions
Before you start: Please make sure the connected IP camera supports the PTZ function, and is properly connected.
Purpose: You can operate the auxiliary functions including light, wiper, and center on the PTZ control panel.
Open PTZ control
Click on the quick settings toolbar in the live view interface.
Click Aux Function
Click Aux Function.
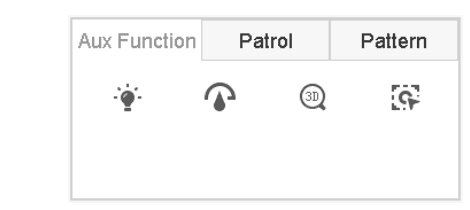
Figure 6-14 Aux Function Configuration
Operate auxiliary functions
Click the icons to operate the aux functions. See the table below for the description of the icons.
Table 6-1 Description of Aux Functions Icons
| Icon | Description |
|---|---|
| Light icon | Light on/off |
| Wiper icon | Wiper on/off |
| Center icon | Center |
Live View
How to start live view, use digital zoom and live view strategy, detect targets, configure live view settings and layout, set up auto-switch of cameras, enable channel-zero encoding, and operate an auxiliary monitor on the Turbo HD DVR GUI 4.0.
Storage
Configure storage devices, HDD groups, quota mode, recording schedules, picture capture, holiday recording, redundant recording, and 1080p Lite mode on the Turbo HD DVR GUI 4.0.