 LTS Connect pagalbos centras
Playback
Comprehensive guide to playing back recorded video on the Turbo HD DVR GUI 4.0, covering instant playback, normal playback, smart search, custom search, tag files, event files, sub-periods, log files, external files, and playback operations.
Play Video Files
Instant Playback
Instant Playback enables the device to play the recorded video files in last five minutes. If no video is found, it means there is no recording during the last five minutes.
Access the toolbar
On the live view window of the selected camera, move the cursor to the window bottom to access the toolbar.
Start instant playback
Click  to start instant playback.
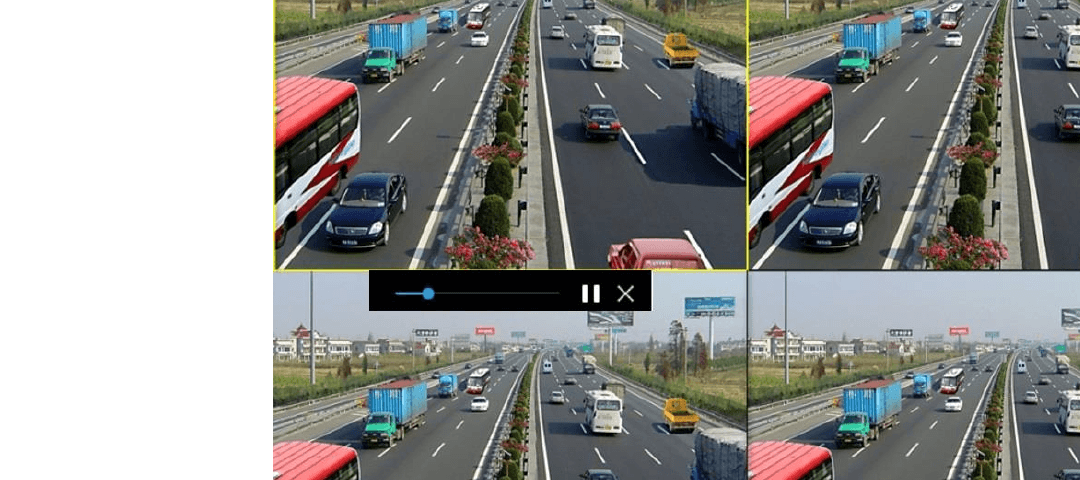
Figure 10-1 Playback Interface
Play Normal Video
Go to Playback
Go to Playback.
Select channels and date
Select one or more cameras in the Channel list to start playing the video. Select a date in the calendar.
Control playback
Use the toolbar in the bottom part of the playback interface to control the playing and realize a series of operations.
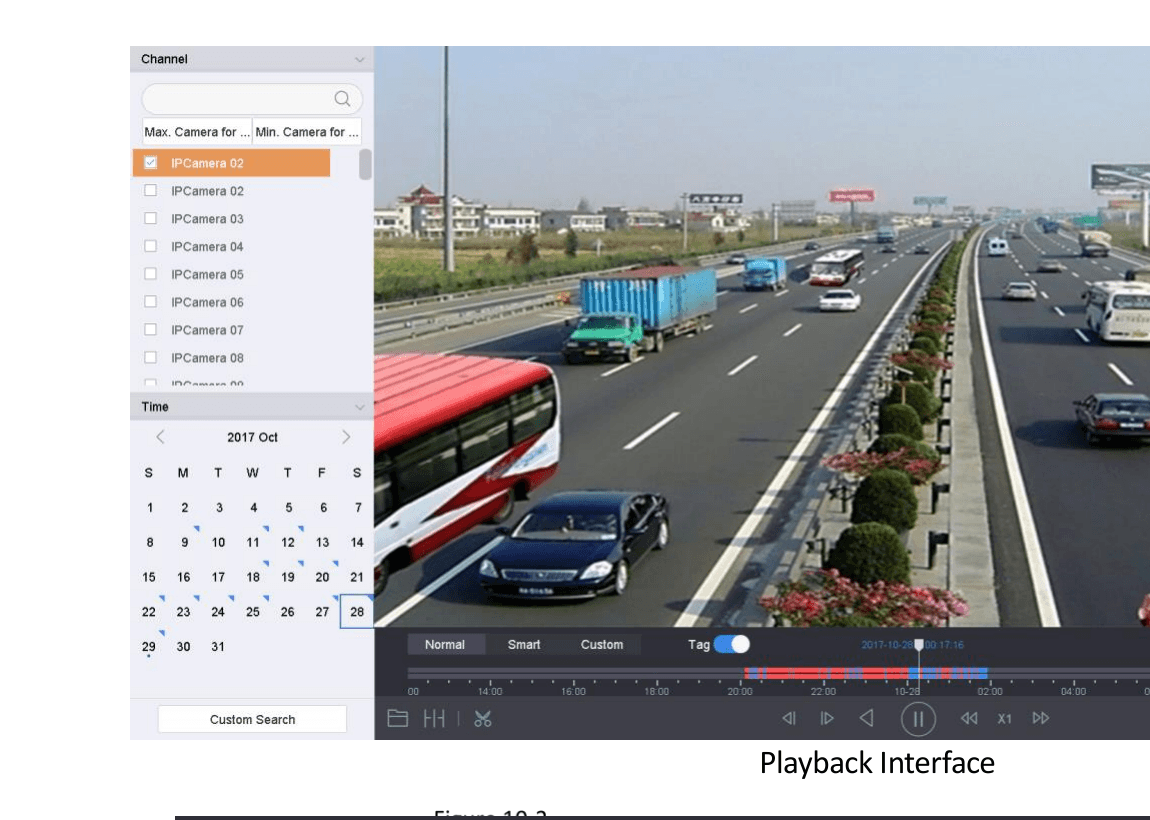
Figure 10-2 Playback Interface

Figure 10-3 Toolbar of Playback
Click the channel(s) to execute simultaneous playback of multiple channels.
The playing speed of 256X is supported.
Play Smart Searched Video
In the smart playback mode, the device can analyze the video containing the motion, line or intrusion detection information, mark it in red color and play the smart searched video.
The smart playback must be in the single-channel playing mode.
Go to Playback
Go to Playback.
Start playing
Start playing the video of camera.
Click Smart
Click Smart.
Select detection type
From the toolbar at the bottom of the playing window, click the motion/line crossing/intrusion icon for search.
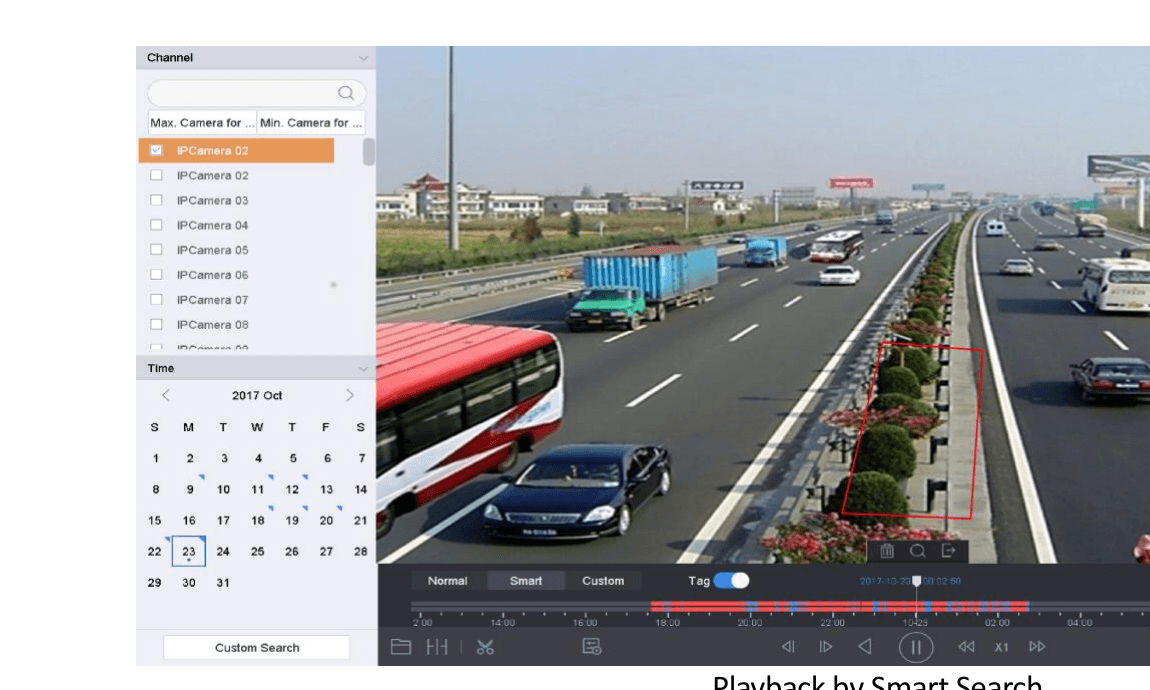
Figure 10-4 Playback by Smart Search
Set rules and areas
Set the rules and areas for smart search of line crossing detection, intrusion detection or motion detection event triggered recording.
-
Line Crossing Detection
- Click the
 icon.
icon. - Click on the image to specify the start point and end point of the line.
- Click the
-
Intrusion Detection
- Click the
 icon.
icon. - Specify 4 points to set a quadrilateral region for intrusion detection. Only one region can be set.
- Click the
-
Motion Detection
- Click the
 icon.
icon. - Hold the mouse on the image to draw the detection area manually.
- Click the
Search and play
Click Search to search the matched video and start to play it.
Play Custom Searched Files
You can play the files by custom search with different conditions.
Go to Playback
Go to Playback.
Select cameras
Select a camera or cameras from the list.
Open Custom Search
Click Custom Search on the left bottom to enter the Search Condition interface.
Enter search conditions
Enter the search conditions for the files, e.g., time, file status, event type, etc.
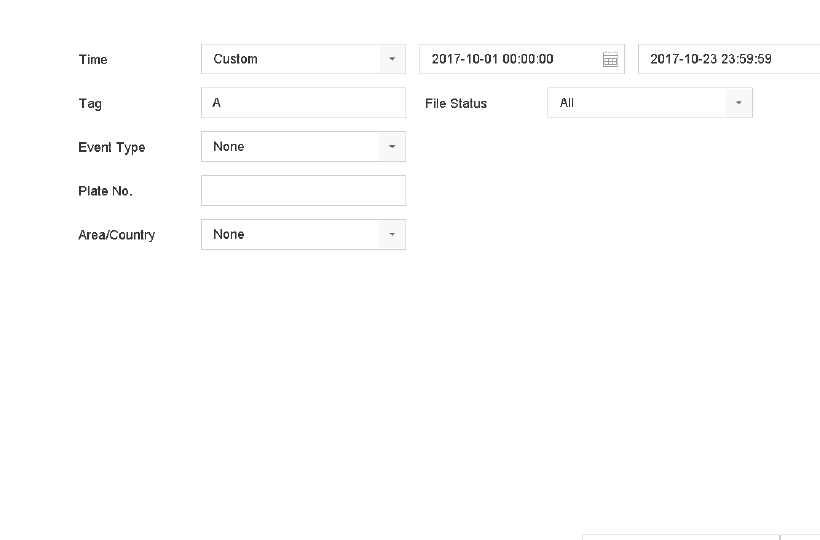
Figure 10-5 Custom Search
Click Search
Click Search.
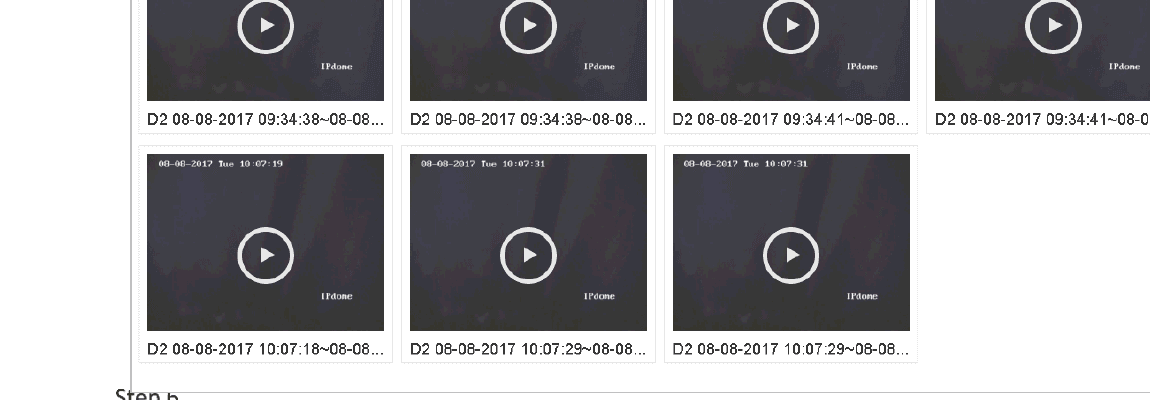
Figure 10-6 Custom Searched Video Files
Play the file
On the search results interface, select a file and click to start playing the video.
Play Tag Files
Purpose: Video tag allows you to record related information like people and location of a certain time point during playback. You can use video tag(s) to search for video files and position time point.
Before playing back by tag: Add Tag Files.
Add Tag Files
Go to Playback
Go to Playback.
Search and play video
Search and play back the video file(s).
Add the tag
Click  to add the tag.
Edit tag information
Edit the tag information.
Confirm
Click OK.
Max. 64 tags can be added to a single video file.
Edit Tag Files
Go to Playback
Go to Playback.
Click Tag
Click Tag. The available tags are white marked and displayed in the time bar.
Point to tag
Point the white marked tag in the time bar to access the tag information.
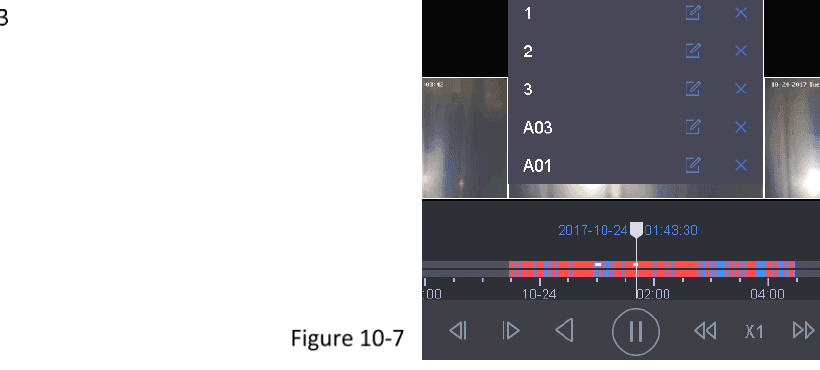
Figure 10-7 Edit Tag Files
Edit the tag name
Click  to edit the tag name.
Confirm
Click OK.
Play Tag Files
Go to Playback
Go to Playback.
Open Custom Search
Click Custom Search on the left bottom to enter the Search Condition interface.
Enter tag search conditions
Enter the search conditions for the tag files, including the time and the tag keyword.
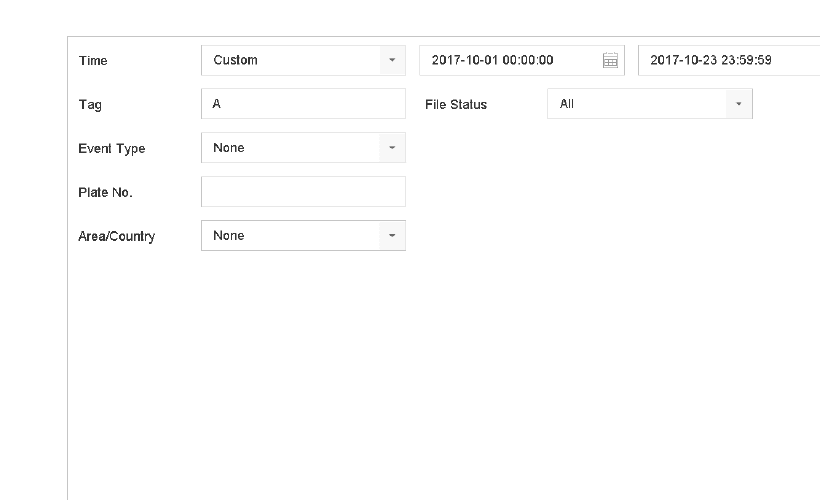
Figure 10-8 Tag Search
Click Search
Click Search.
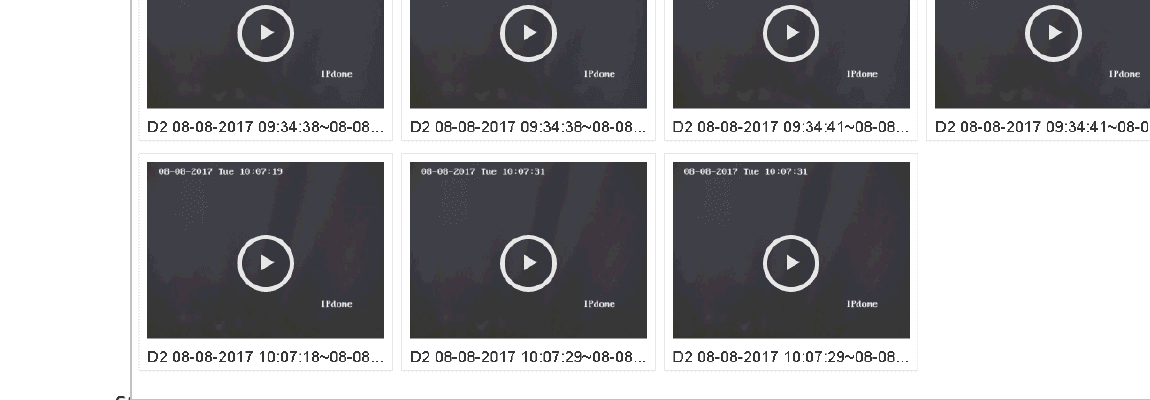
Figure 10-9 Searched Tag Files
Play the tag file
On the search results interface, select a tag file and click to start playing the video.
Play Event Files
Purpose: Play back video files on one or several channels searched by event type (e.g., alarm input, motion detection, line crossing detection, face detection, vehicle detection, etc.).
Go to Playback
Go to Playback.
Open Custom Search
Click Custom Search on the left bottom to enter the Search Condition interface.
Enter event search conditions
Enter the search conditions for the event files, e.g., time, event type, file status, vehicle information (for vehicle detection event), etc.
Click Search
Click Search.
Play the event file
On the search results interface, select an event video file/picture file and double click to start playing the video.
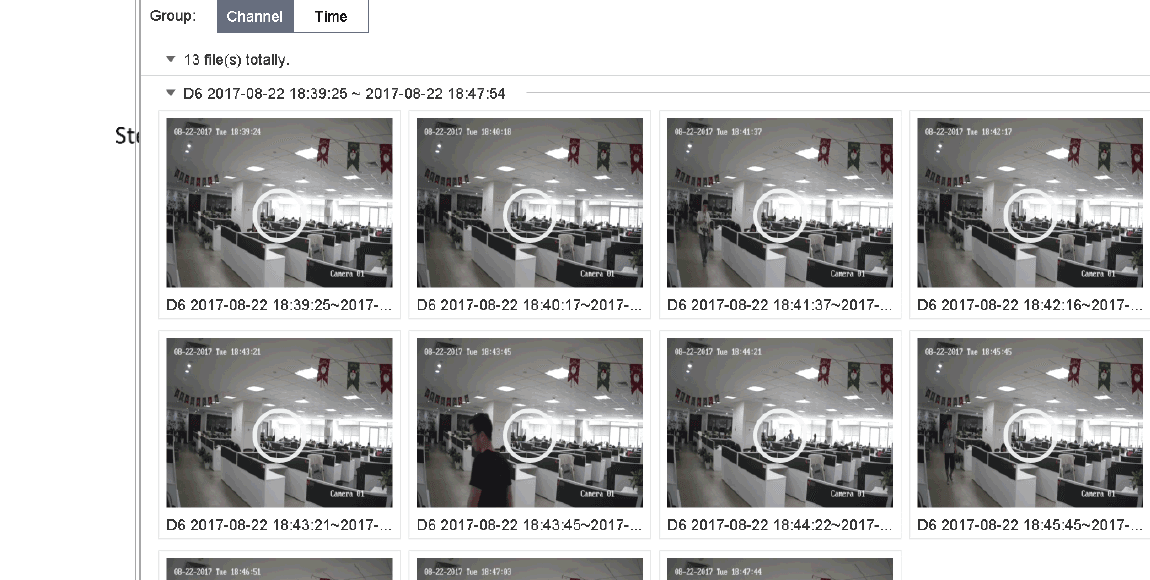
Figure 10-10 Event Files
You can click  or
or  button to play 30s backward or forward.
- Refer to Chapter 11 and Chapter 13 VCA Event Alarm for details for event and alarm settings.
- Refer to Chapter 7.7 Configure Event Triggered Recording for the event triggered recording/capture settings.
Play by Sub-periods
Purpose: The video files can be played in multiple sub-periods simultaneously on the screens.
Go to Playback
Go to Playback.
Enter sub-period mode
Select icon at the left bottom corner to enter the sub-period playing mode.
Select a camera
Select a camera.
Set time range
Set the start time and end time for searching video.
Select split-screen count
Select the different multi-period at the right bottom corner, e.g., 4-Period.
According to the defined number of split-screens, the video files on the selected date can be divided into average segments for playback. E.g., if there are video files existing between 16:00 and 22:00, and the 6-screen display mode is selected, then it can play the video files for 1 hour on each screen simultaneously.
Play Log Files
Purpose: Play back record file(s) associated with channels after searching system logs.
Go to Log Information
Go to Maintenance > Log Information.
Click Log Search tab
Click Log Search tab to enter Playback by System Logs.
Set search criteria
Set search time and type and click Search.
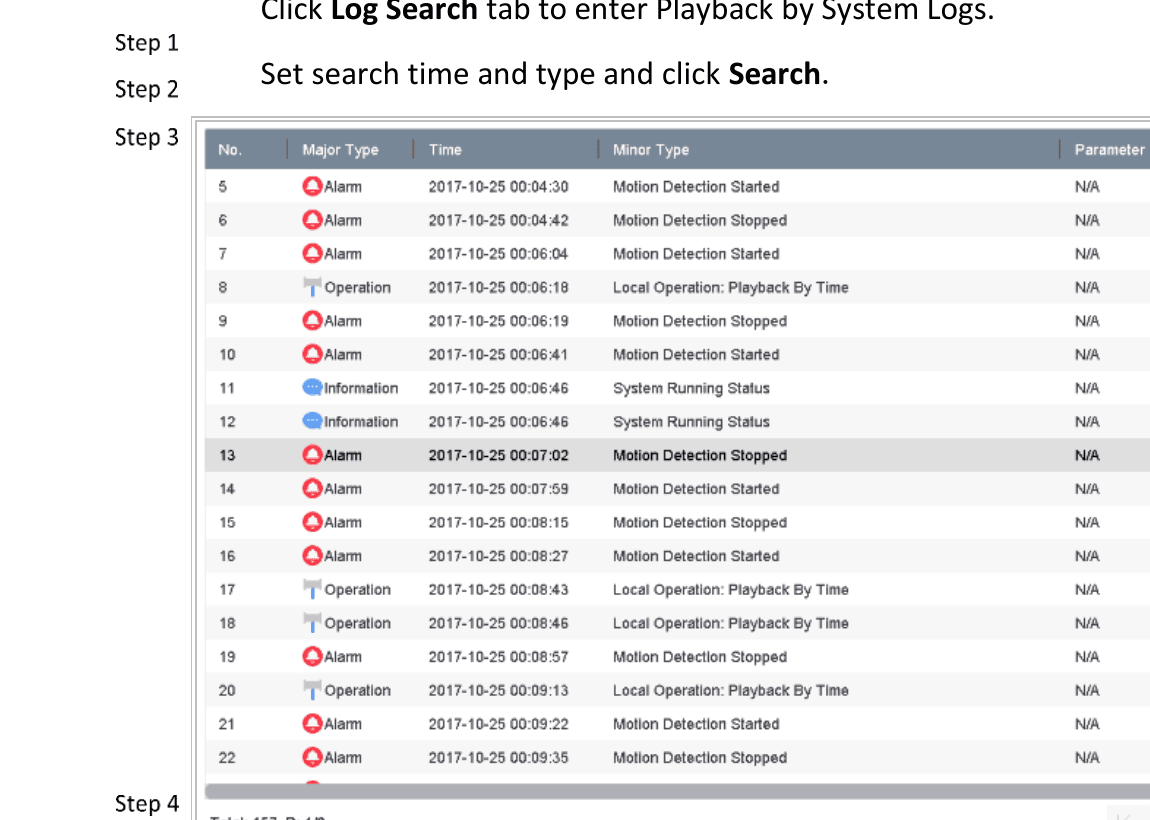
Figure 10-11 System Log Search Interface
Play the log file
Choose a log with video file and click to start playing the log file.
Play External File
Purpose: You can play files from the external storage devices.
Before You Start: Connect the storage device with the video files to your device.
Go to Playback
Go to Playback.
Open external file browser
Click the  icon at the left bottom corner.
Play the file
Select and click the button or double click to play the file.
Playback Operations
Set Play Strategy in Smart/Custom Mode
Purpose: When you are in the smart or custom video playback mode, you can set the playing speed separately for the normal video and the smart/custom video, or you can select to skip the normal video.
In the Smart/Custom video playback mode, click  to set the play strategy.
- When Do not Play Normal Videos is checked, the device will skip the normal video and play the smart (motion/line crossing/intrusion) video and the custom (searched video) only in the normal speed (X1).
- When Do not Play Normal Videos is unchecked, you can set the play speed for the normal video and the smart/custom video separately. The speed range is from X1 to XMAX.
You can set the speed in the single-channel play mode only.
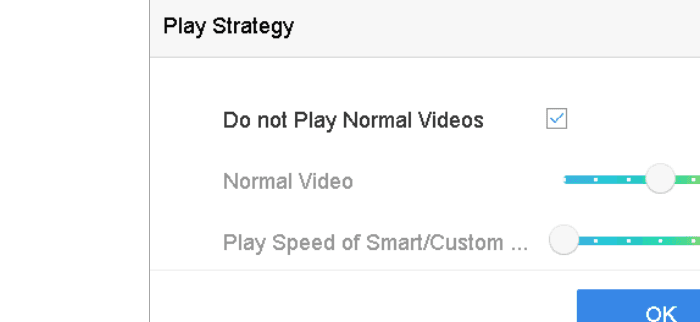
Figure 10-12 Play Strategy
Edit Video Clips
You can take video clips during the playback and export the clips.
In the video playback mode, click  to start video clipping operation.
- : Set the start time and end time of the video clipping.
 : Export the video clips to the local storage device.
Switch between Main Stream and Sub-Stream
You can switch between the main stream and the sub-stream during the playback (except iDS-7200HQHI-K/S and iDS-7200HUHI-K/S series).
 : Play the video in main stream.
 : Play the video in sub-stream.
Thumbnails View
With the thumbnails view on the playback interface, you can conveniently locate the required video files on the time bar.
In the video playback mode, move the mouse to the time bar to get the preview thumbnails of the video files.
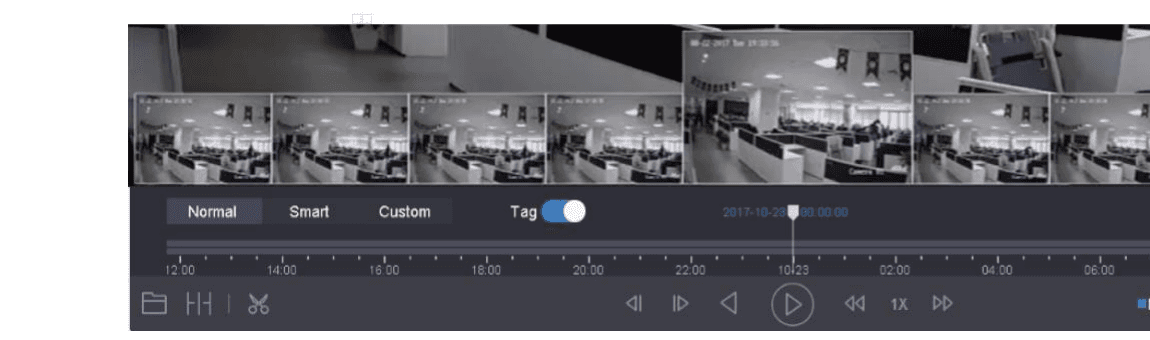
Figure 10-13 Thumbnails View
You can select and click on a required thumbnail to enter the full-screen playback.
iDS-7200HQHI-K/S and iDS-7200HUHI-K/S series don't support this function.
Fast View
You can hold the mouse to drag on the time bar to get the fast view of the video files.
In the video playback mode, use the mouse to hold and drag through the playing time bar to fast view the video files. Release the mouse to the required time point to enter the full-screen playback.
Digital Zoom
In the video playback mode, click  from the toolbar to enter the digital zoom interface. You can move the sliding bar or scroll the mouse wheel to zoom in/out the image to different proportions (1 to 16X).
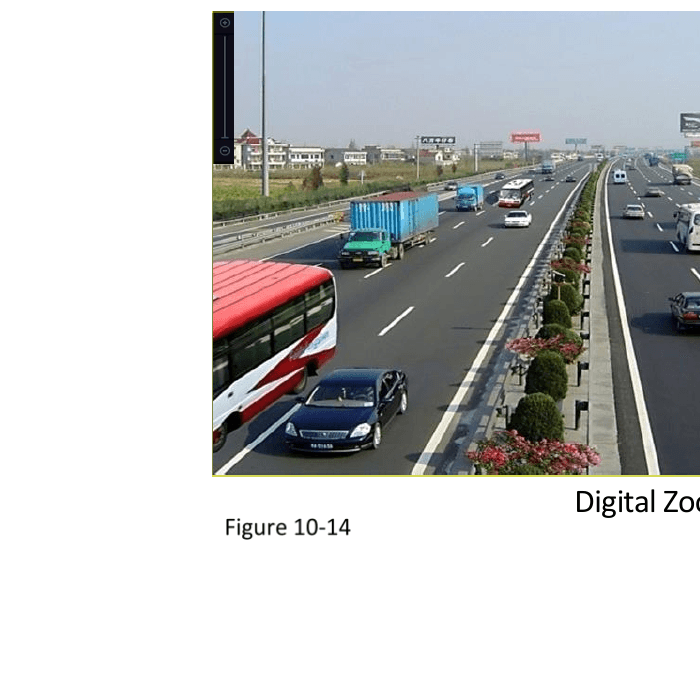
Figure 10-14 Digital Zoom
File Management
Search, filter, and export recorded video and picture files by type — All Files, Human Files, and Vehicle Files — and save or recall search conditions for quick access.
Event and Alarm Settings
Configure arming schedules, alarm linkage actions, motion detection, video loss, video tampering, sensor alarm inputs and outputs, exception handling, and manual alarm control on the Turbo HD DVR GUI 4.0.