 LTS Connect pagalbos centras
Audio
Manage audio files, schedule audio playback, and configure broadcast groups on the Sapphire Series NVR.
The audio function is to manage audio files and set schedule play function. It is to realize audio broadcast activation function.
This function is for some series product only.
File Manage
You can add audio files, listen to audio files, rename and delete audio files, and configure the audio volume.
Open File Manager
Select Main Menu > AUDIO > File Manager.
The File Manager interface is displayed. See Figure 4-252.
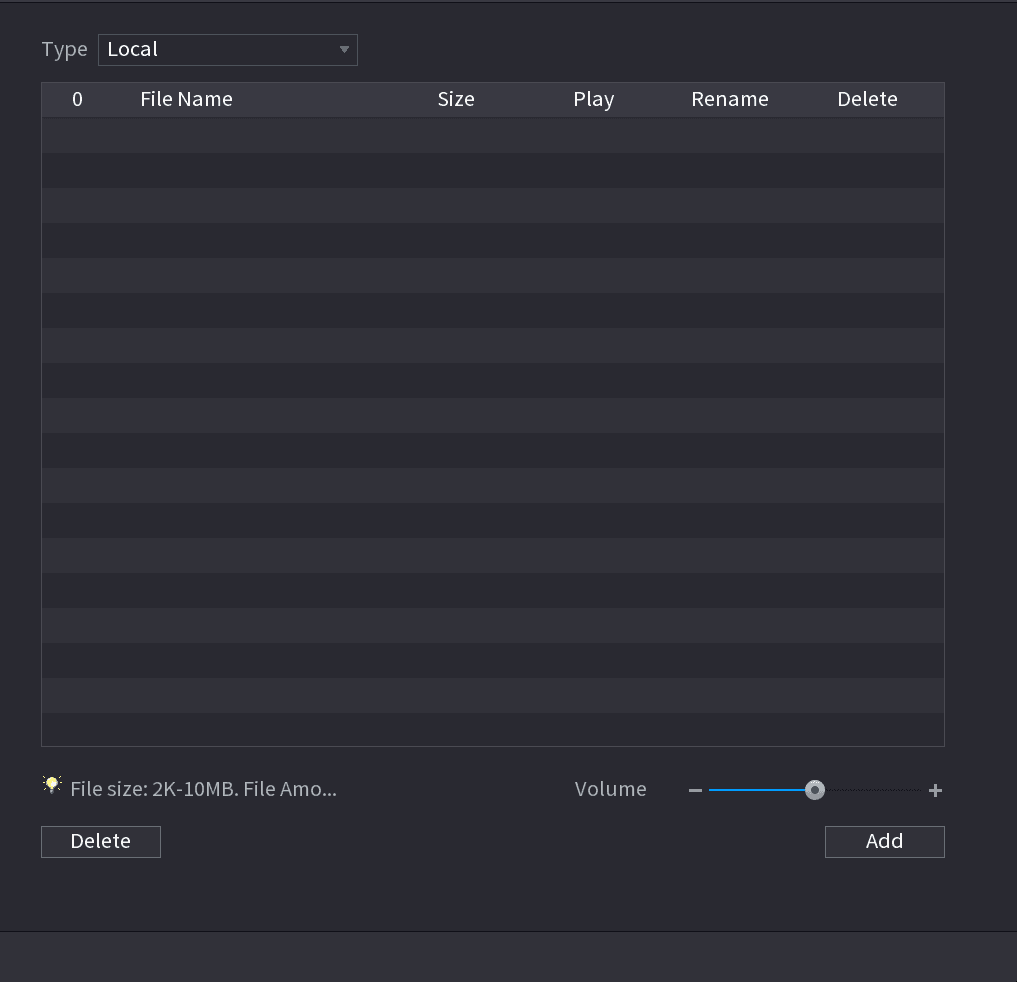
Click Add
Click Add.
The Add interface is displayed. See Figure 4-253.
NVR supports USB port to import audio file only.
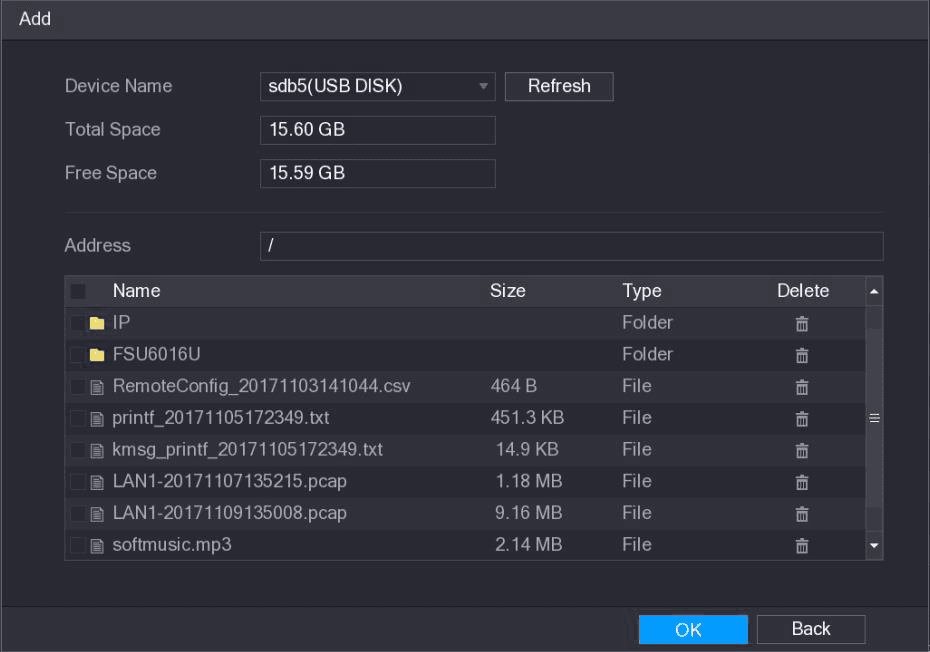
Import the audio file
Select the audio file and then click Import.
System supports MP3 and PCM audio format.
Confirm import
Click OK to start importing audio files from the USB storage device.
If the importing is successful, the audio files will display in the File Manager interface.
Schedule
You can configure the settings to play the audio files during the defined time period.
Open Schedule
Select Main Menu > AUDIO > Schedule.
The Schedule interface is displayed. See Figure 4-254.
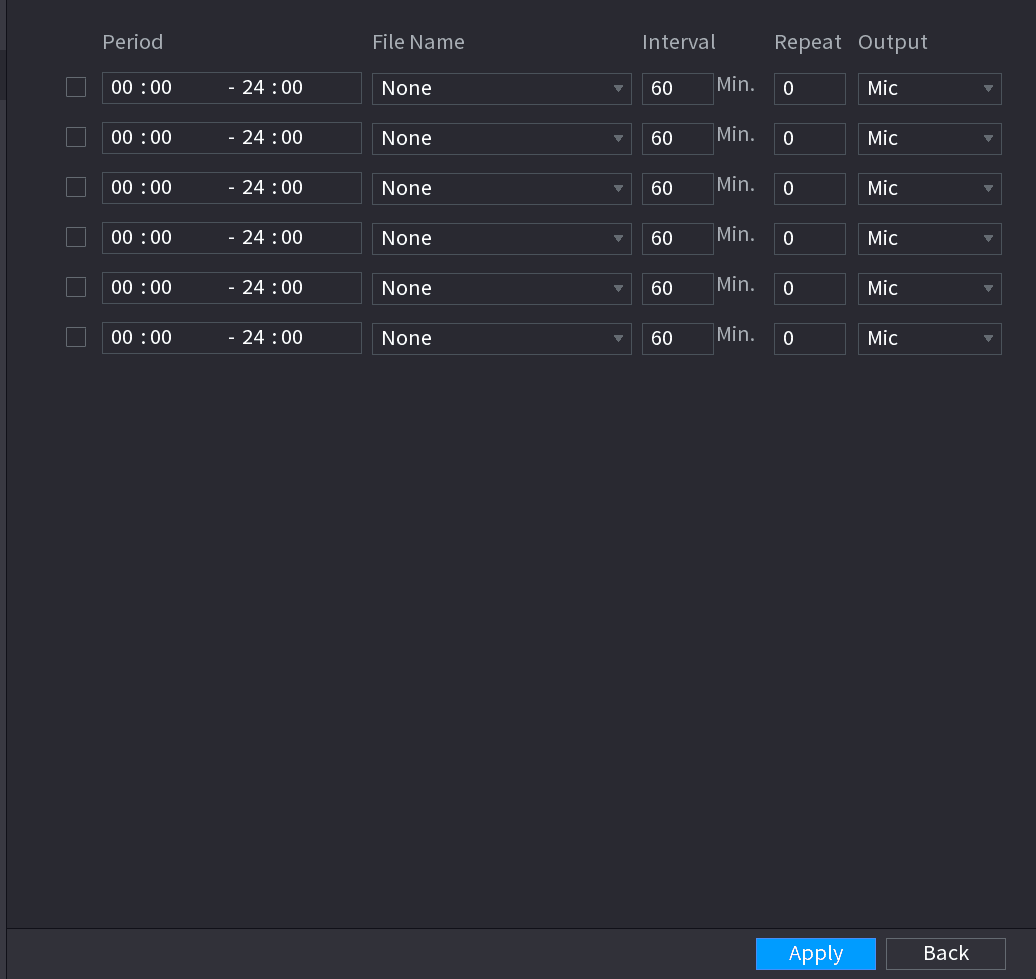
Configure schedule parameters
Configure the settings for the schedule parameters. See Table 4-72.
| Parameter | Description |
|---|---|
| Period | In the Period box, enter the time. Select the check box to enable the settings. You can configure up to six periods. |
| File Name | In the File Name list, select the audio file that you want to play for this configured period. |
| Interval | In the Interval box, enter the time in minutes for how often you want to repeat the playing. |
| Repeat | Configure how many times you want to repeat the playing in the defined period. |
| Output | Includes two options: MIC and Audio. It is MIC by default. The MIC function shares the same port with talkback function and the latter has the priority. Some series products do not have audio port. The actual product shall prevail. |
- The finish time for audio playing depends on audio file size and the configured interval.
- Playing priority: Alarm event > Audio talk > Trial listening > Schedule audio file.
Apply the settings
Click Apply to complete the settings.
Broadcast
System can broadcast to the camera, or broadcast to a channel group.
Open Broadcast
Select Main Menu > AUDIO > BROADCAST.
The BROADCAST interface is displayed. See Figure 4-255.
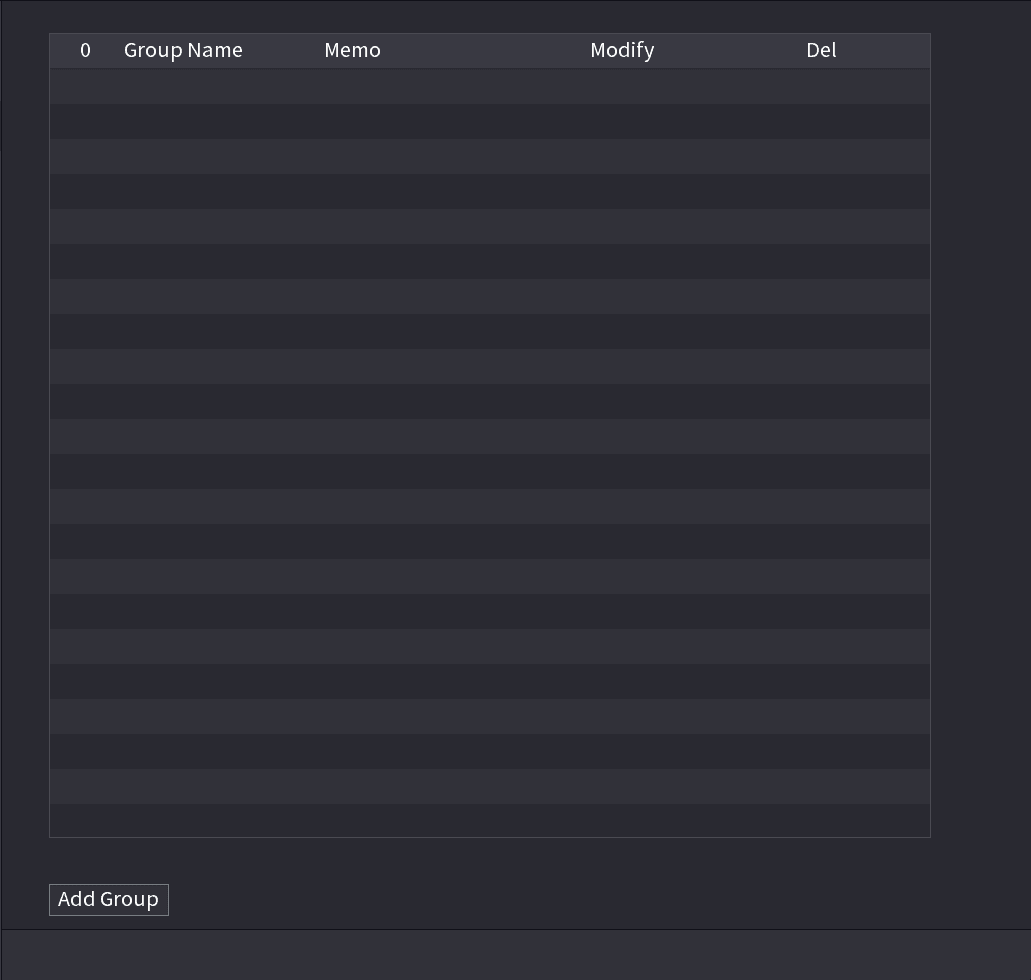
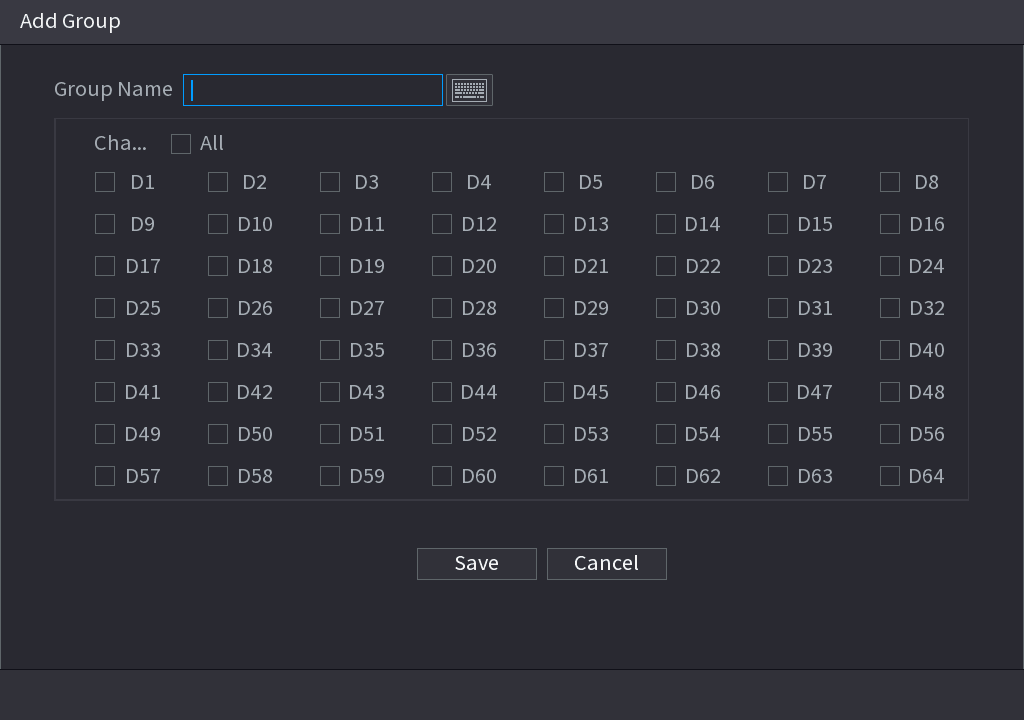
Name the group and select channels
Input group name and select one or more channels.
Save the group
Click Save button to complete broadcast group setup.
- On the broadcast interface, click
 to change group setup, click
  to delete group.
 - After complete broadcast setup, on the preview interface and then click
 on the navigation bar, device pops up broadcast dialogue box. Select a group name and then click
  to begin broadcast. See Figure 4-257.
Output and Display
Configure the NVR display effect, channel tour, and customized video split modes from the DISPLAY menu.
USB Device Auto Pop-up and Shutdown
How the NVR automatically detects an inserted USB device for backup or upgrade, and how to safely shut down the device from the main menu, remote control, or rear panel.