 LTS Connect Yardım Merkezi
Viewing Information
View the CVI DVR information such as version details, logs, events, network load, online users, HDD, channel, data stream, device status, and PoC, and log out the device.
Viewing Information
You can view the information such as log information, HDD information, and version details.
Viewing Version Details
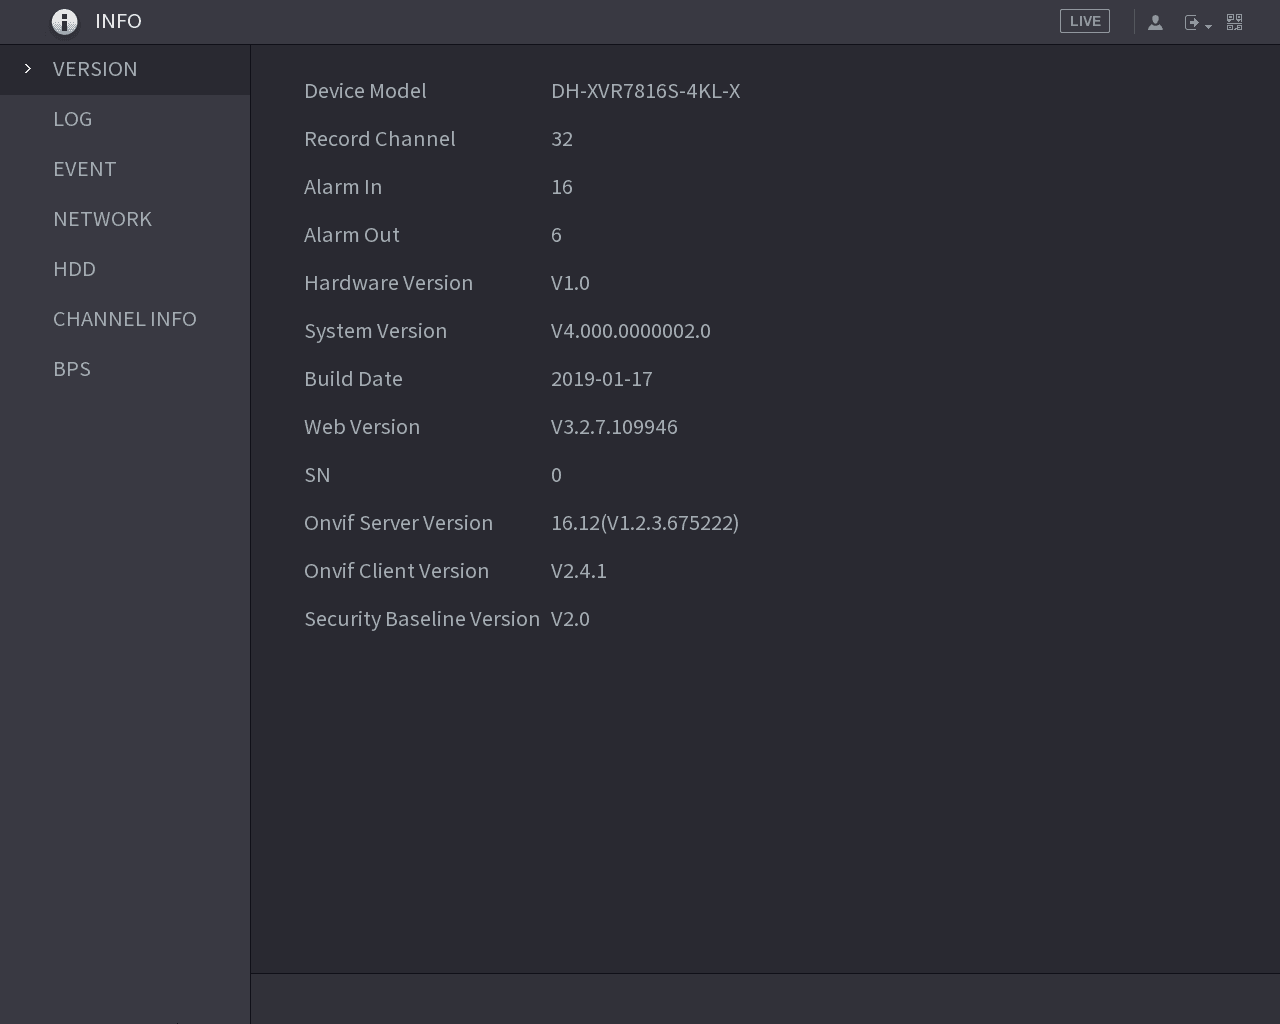
You can view the version details such as device model, system version, and build date.
Select Main Menu > INFO > VERSION, the VERSION interface is displayed. See Figure 5-270.
Viewing Log Information
You can view and search the log information.
- If there is no HDD installed, the system can save up to 10,000 logs.
- If there is HDD installed and has been formatted, the system can save up to 500,000 logs.
- If there is HDD installed, the logs about system operations are saved in the memory of the Device and other types of logs are saved into the HDD. If there is no HDD installed, the other types of logs are also saved in the memory of the Device.
- When formatting the HDD, the logs will not be lost. However, if you take out the HDD from the Device, the logs might be lost.
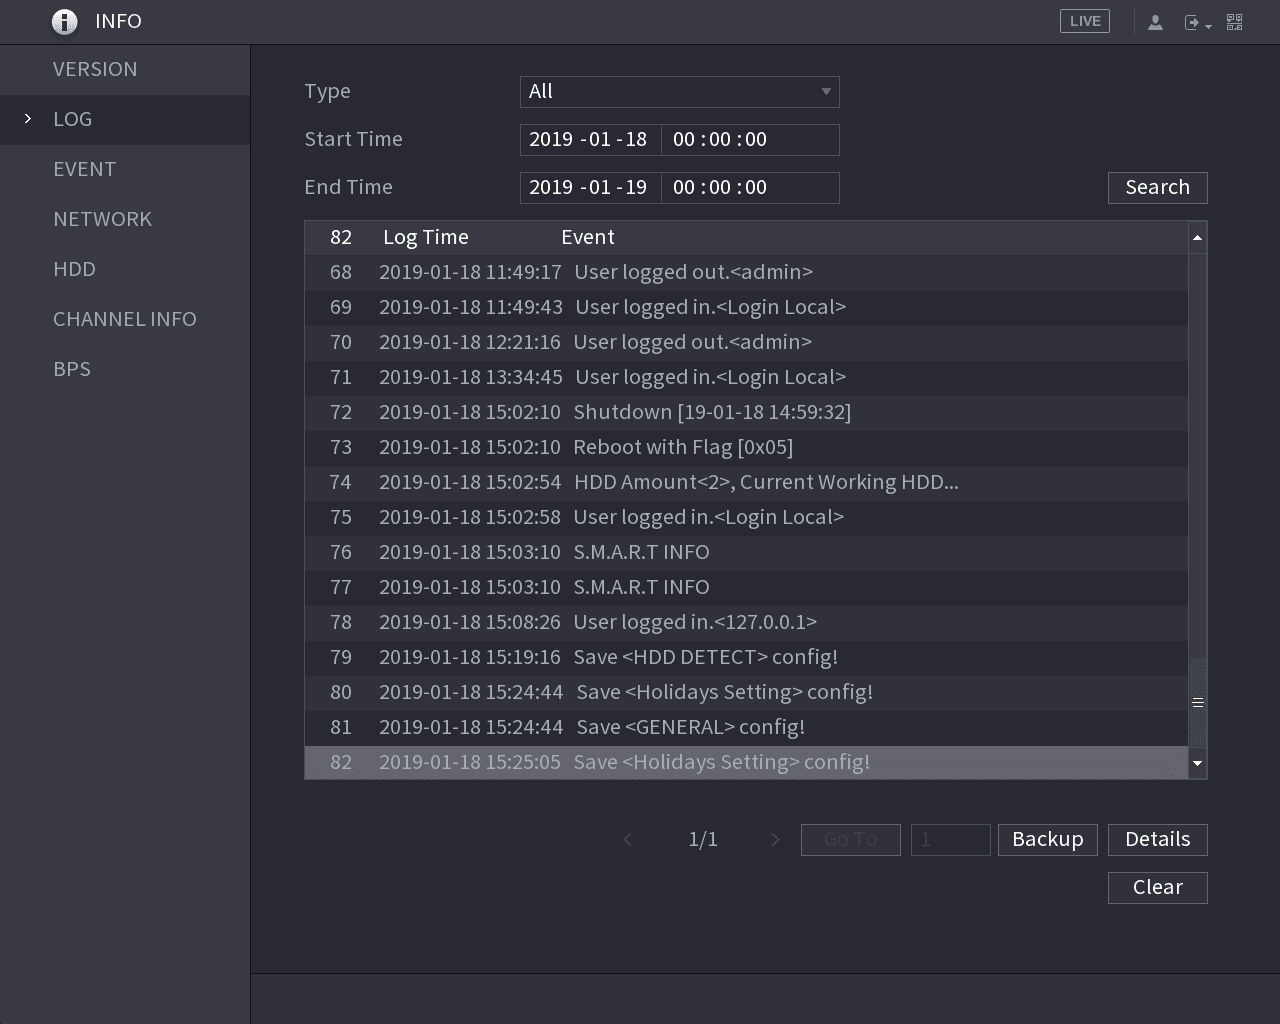
Open the LOG interface
Select Main Menu > INFO > LOG.
The LOG interface is displayed. See Figure 5-271.
Select the log type
In the Type list, select the log type that you want to view (System, Config, Storage, Record, Account, Clear, Playback, and Connection) or select All to view all logs.
Search the logs
In the Start Time box and End Time box, enter the time period to search, and then click Search.
The search results are displayed. See Figure 5-272.
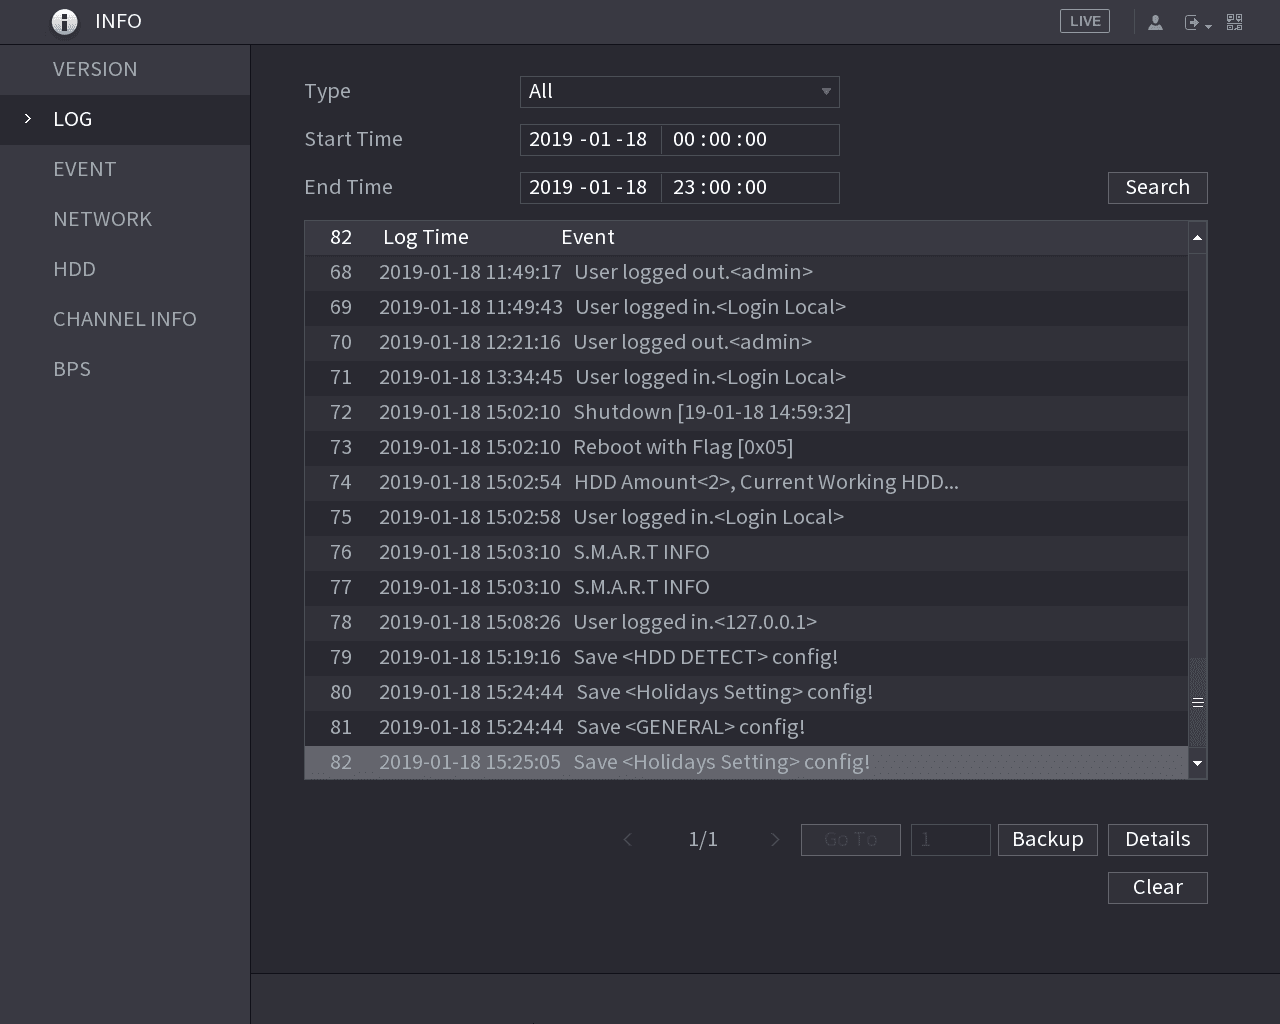
- Click Details or double-click the log that you want to view, the Detailed Information interface is displayed. Click Next or Previous to view more log information.
- Click Backup to back up the logs into the USB storage device.
- Click Clear to remove all logs.
Viewing Event Information
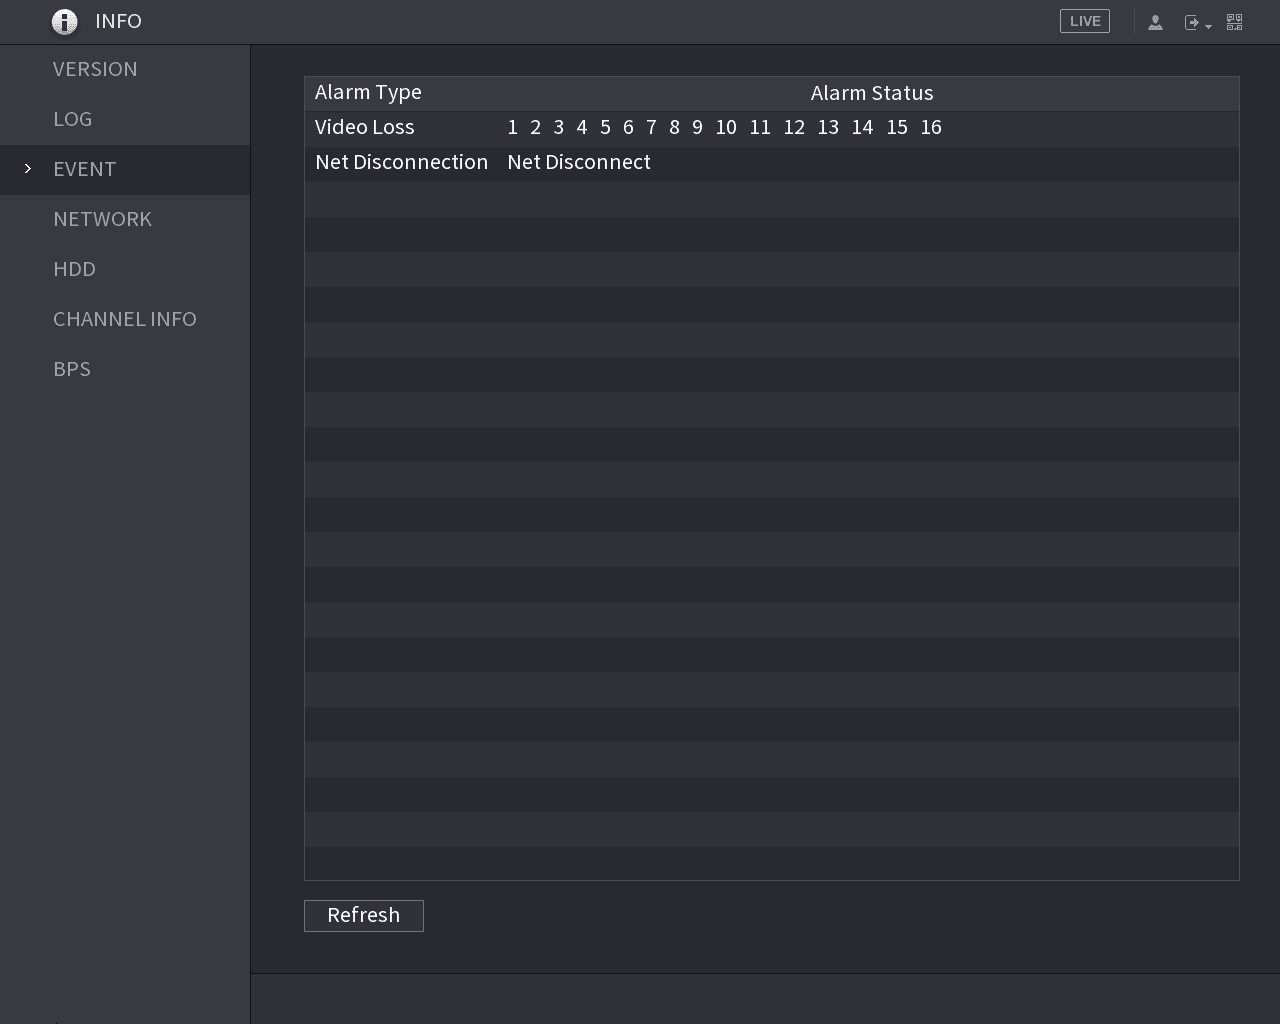
You can view the event information of the Device and channel.
Select Main Menu > INFO > EVENT, the EVENT interface is displayed. See Figure 5-273.
Viewing Network Information
You can view the online users, network data transmission details, and test network. For details about testing network, see 5.15.2.1 Testing the Network.
Viewing Online Users
You can view the online user information and block any user for a period of time.
Select Main Menu > INFO > NETWORK > Online users, the Online users interface is displayed. See Figure 5-274.
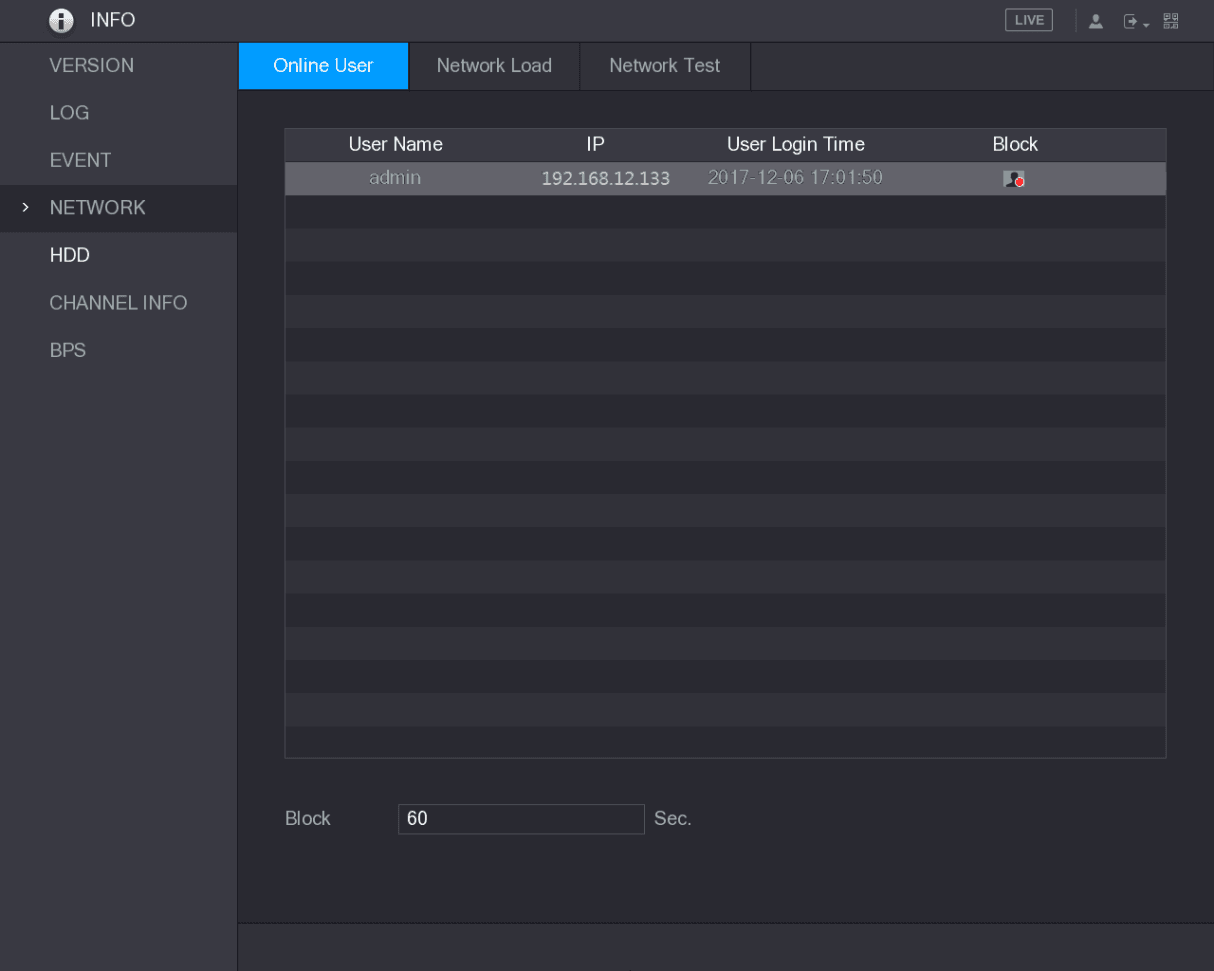
To block an online user, click the block icon and then enter the time that you want to block this user. The maximum value you can set is 65535.
The system detects every 5 seconds to check whether there is any user added or deleted, and update the user list timely.
Viewing the Network Load
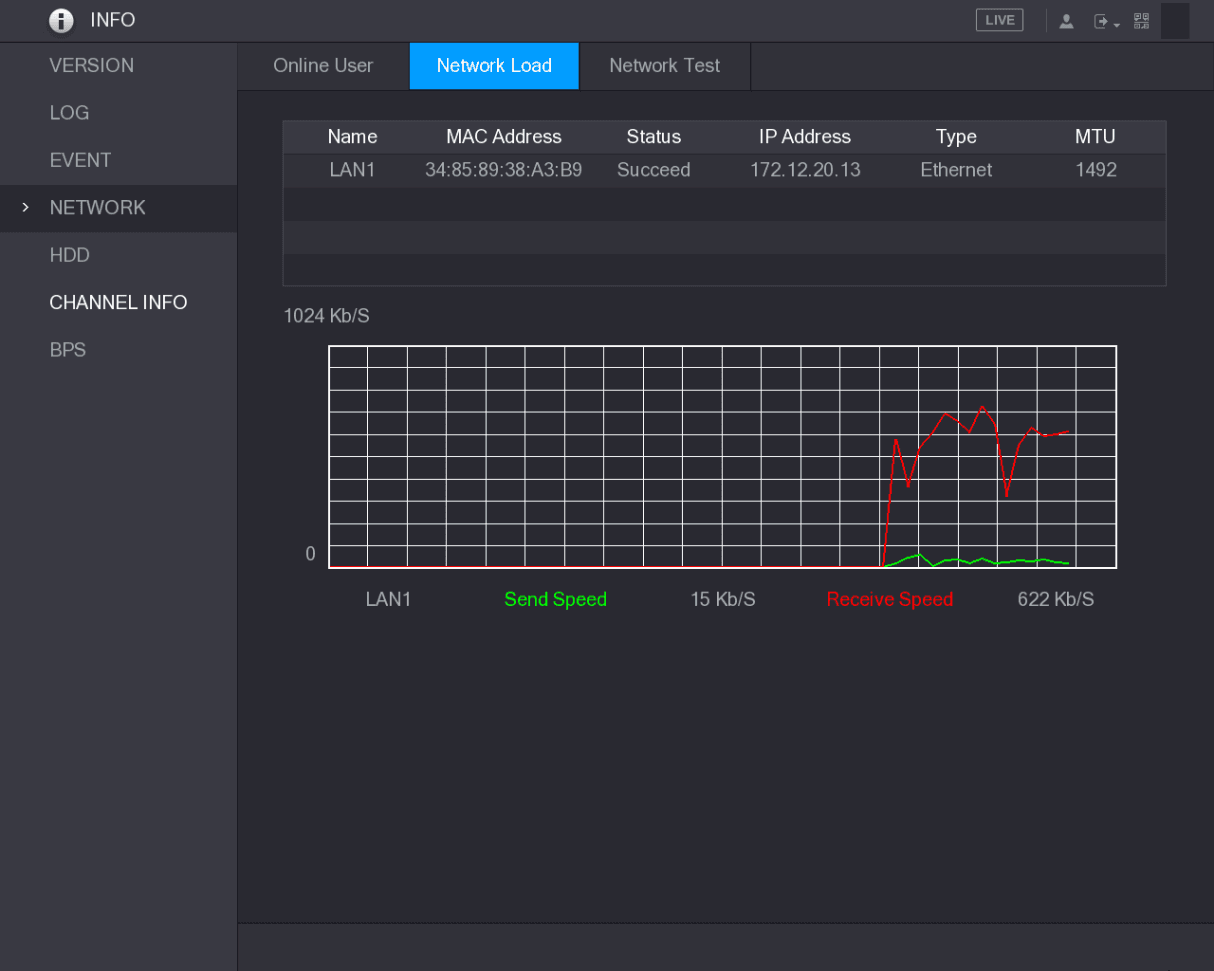
Network load means the data flow which measures the transmission capability. You can view the information such as data receiving speed and sending speed.
Open the Network Load interface
Select Main Menu > INFO > NETWORK > Network Load.
The Network Load interface is displayed. See Figure 5-275.
Select the LAN to view
Click the LAN name that you want to view, for example, LAN1.
The system displays the information of data sending speed and receiving speed.
- The default display is LAN1 load.
- Only one LAN load can be displayed at one time.
Viewing HDD Information
You can view the HDD quantity, HDD type, total space, free space, status, and S.M.A.R.T information.
Select Main Menu > INFO > HDD, the HDD interface is displayed. See Figure 5-276.
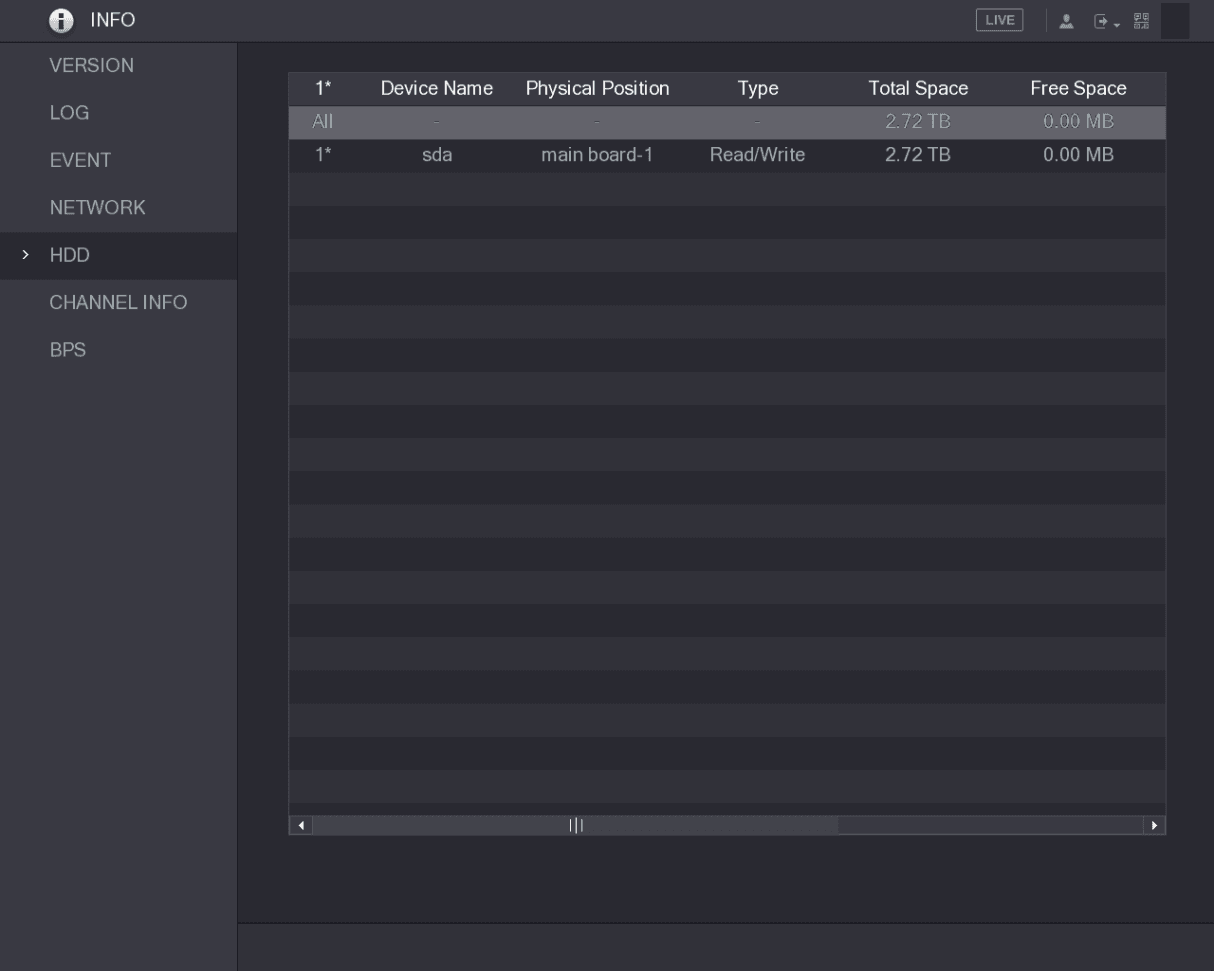
Table 5-79
| Parameter | Description |
|---|---|
| No. | Indicates the number of the currently connected HDD. The asterisk (*) means the current working HDD. |
| Device Name | Indicates name of HDD. |
| Physical Position | Indicates installation position of HDD. |
| Type | Indicates HDD type. |
| Total Space | Indicates the total capacity of HDD. |
| Free Space | Indicates the usable capacity of HDD. |
| Status | Indicates the status of the HDD to show if it is working normally. |
| S.M.A.R.T | View the S.M.A.R.T reports from HDD detecting. |
Viewing Channel Information
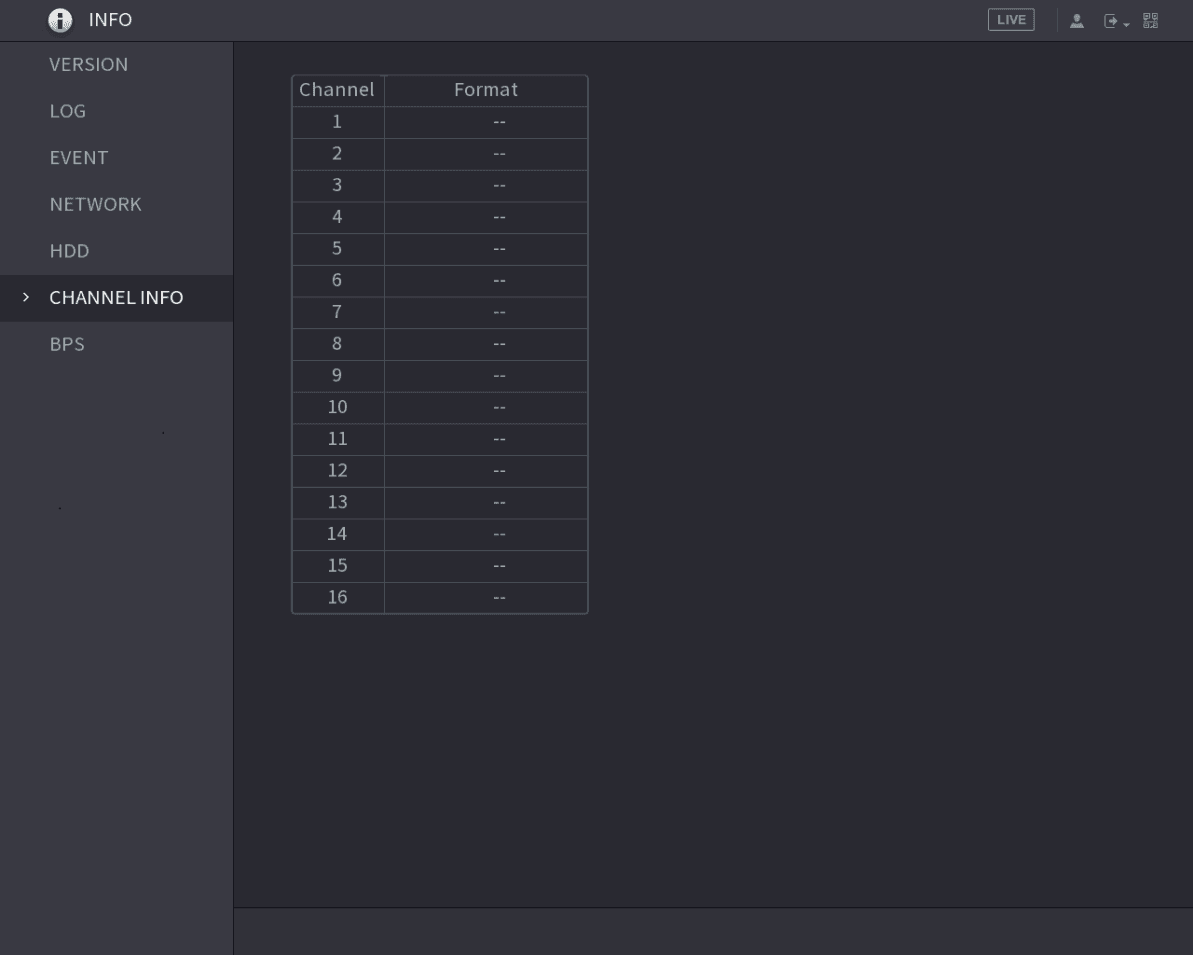
You can view the camera information connected to each channel.
Select Main Menu > INFO > CHANNEL INFO, the CHANNEL INFO interface is displayed. See Figure 5-277.
Viewing Data Stream Information
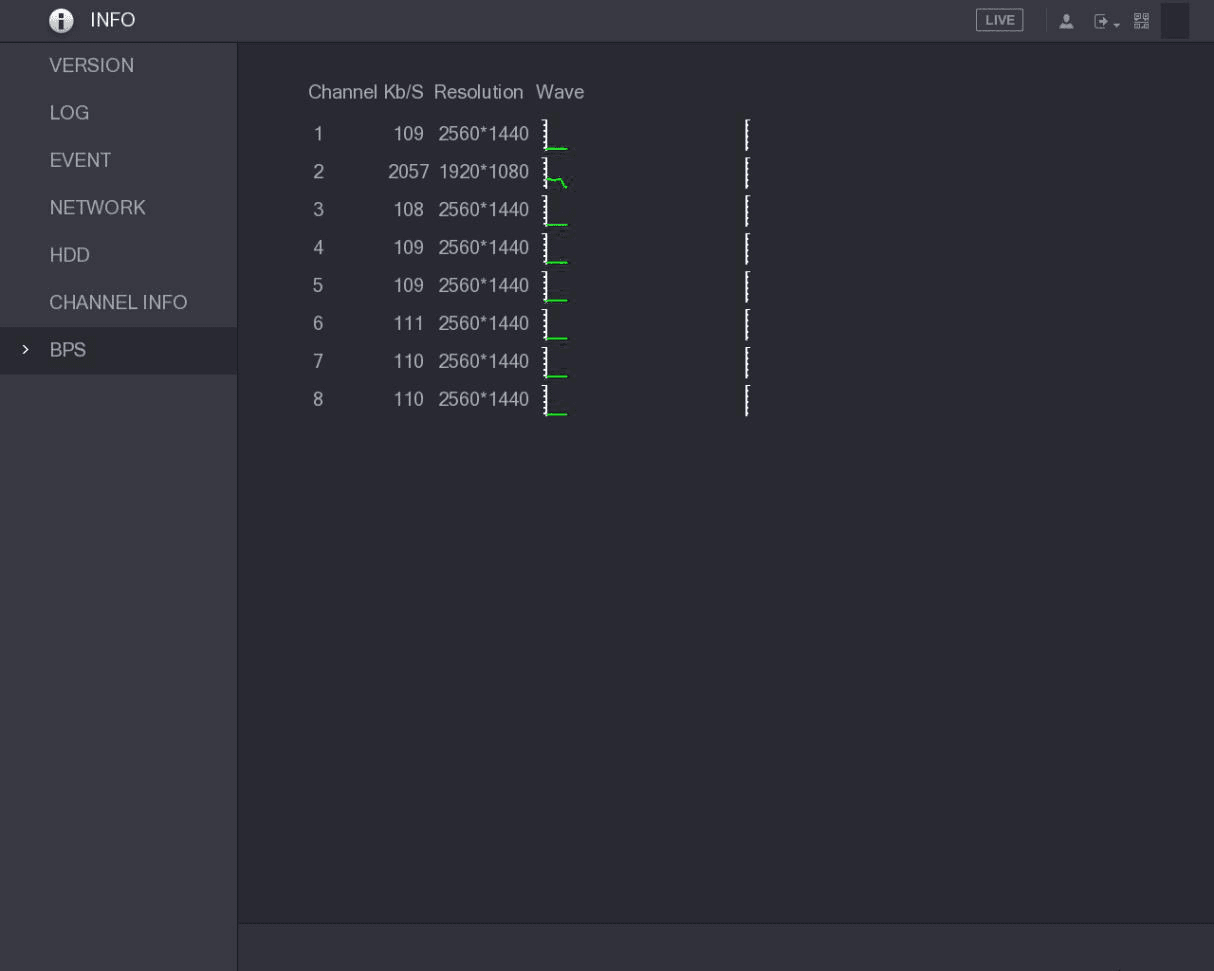
You can view the real-time data stream rate and resolution of each channel.
Select Main Menu > INFO > BPS, the BPS interface is displayed. See Figure 5-278.
Viewing Device Status
Not all models support this function.
You can view the information about device status.
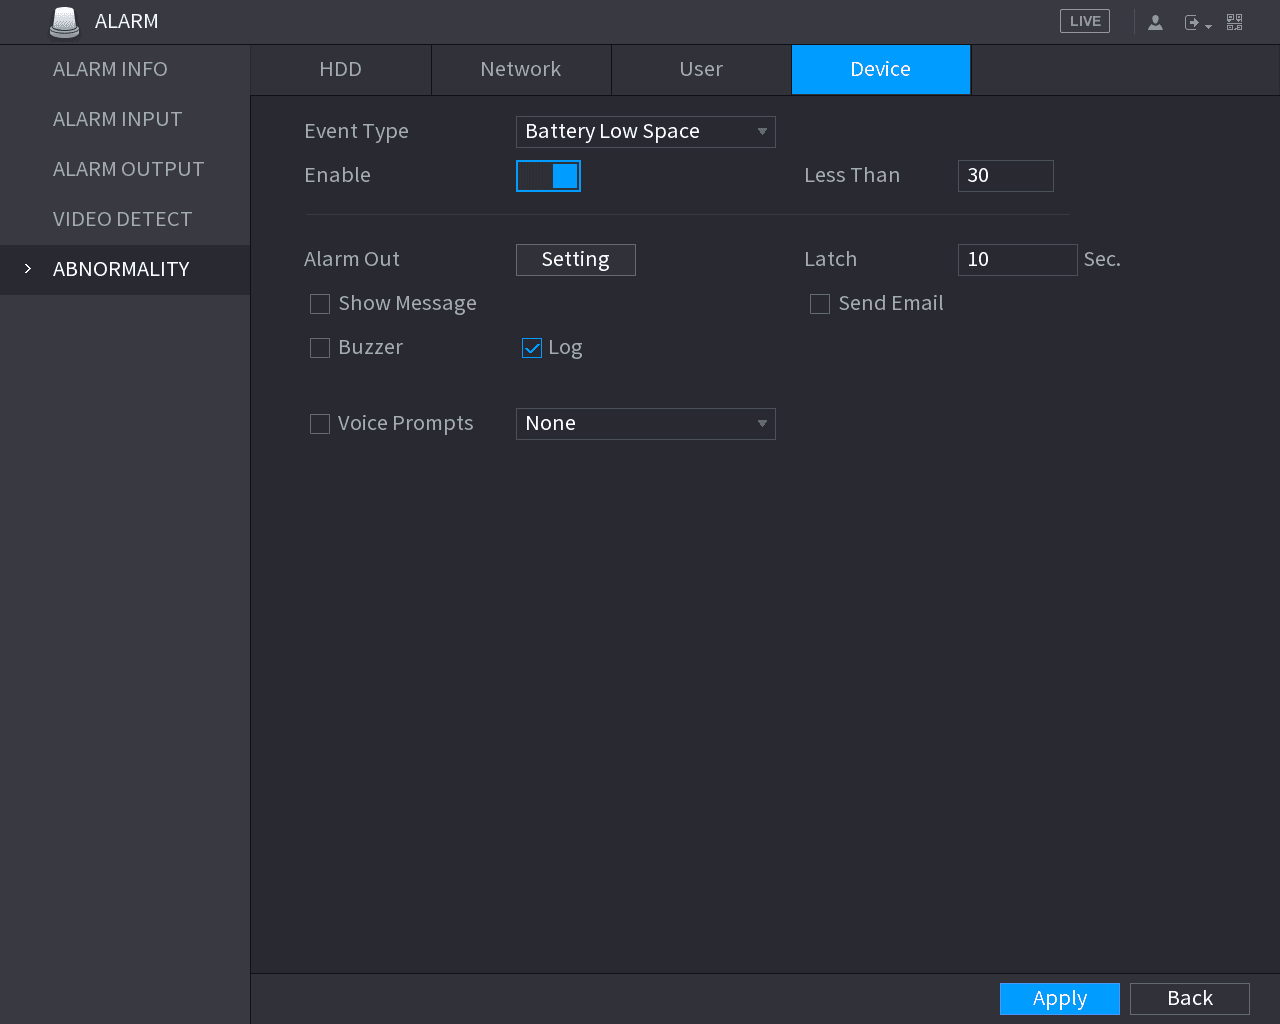
Enable Battery Low Space alarm
Select Main Menu > ALARM > ABNORMALITY > Device.
The Device interface is displayed. See Figure 5-279.
Apply the settings
Select Battery Low Space for Event Type, tick the switch behind Enable, and then click Apply.
Open the DEVICE STATUS interface
Select Main Menu > INFO > DEVICE STATUS.
The DEVICE STATUS interface is displayed. See Figure 5-280.
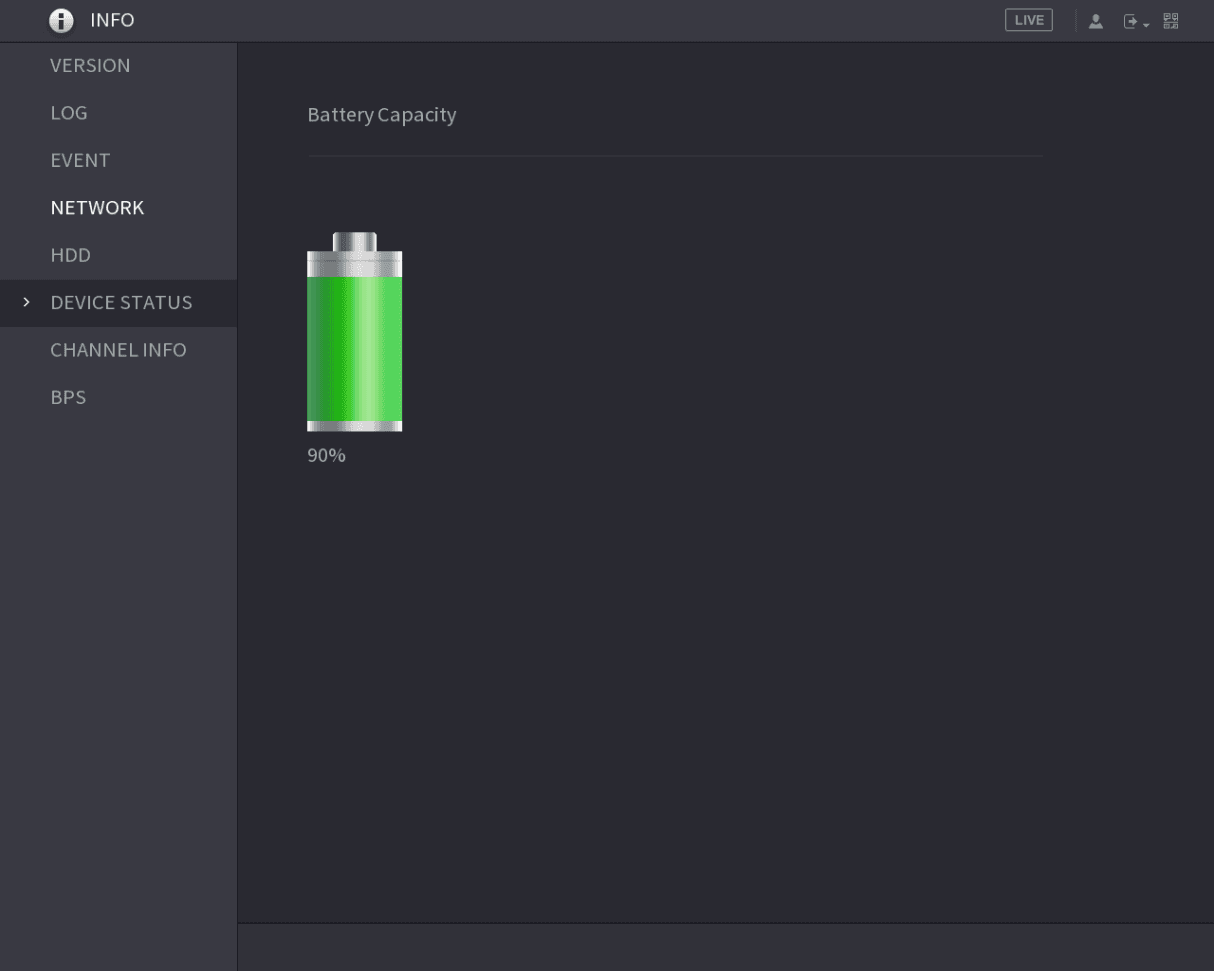
Table 5-80
| Status | |||||
|---|---|---|---|---|---|
| Battery Capacity | Above 60% | 30%–60% | Below 30% | Charging | Charging completed |
Viewing PoC Information
Not all models support this function.
You can view the information about PoC camera, such as quantity, mode, and power consumption.
Select Main Menu > CAMERA > PoC INFO, the PoC INFO interface is displayed. See Figure 5-281.
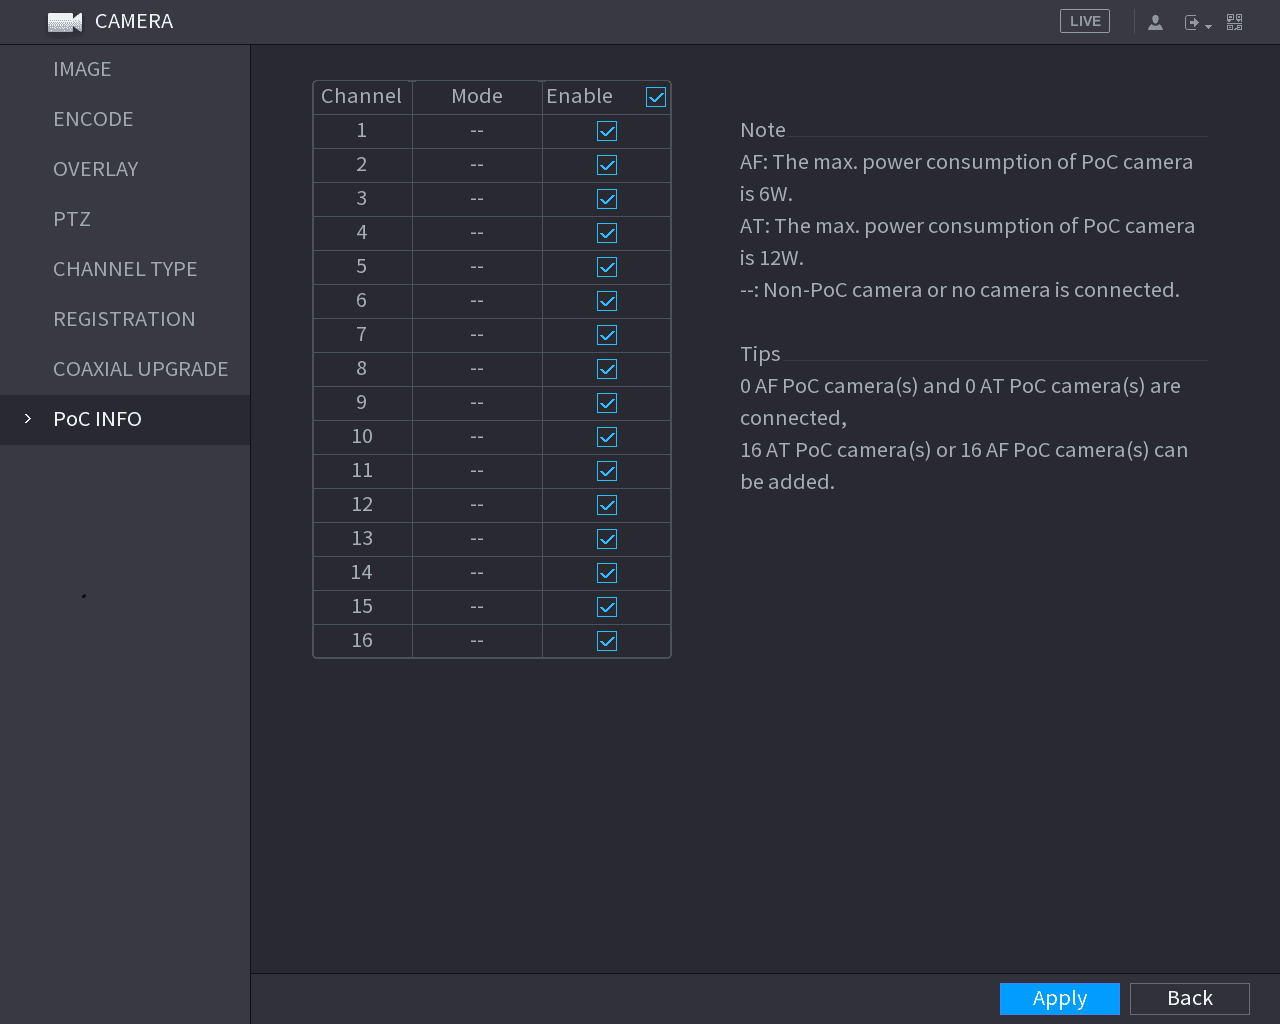
Table 5-81
| Parameter | Description |
|---|---|
| AF | The maximum power of PoC camera is 6 W. |
| AT | The maximum power of PoC camera is 12 W. |
| -- | Non PoC camera or no camera is connected. |
Logout the Device
On the top right of the Main Menu interface or on any interface after you have entered the Main Menu, click the logout icon.
-
Select Logout, you will log out the device.
-
Select Reboot, the Device will be rebooted.
-
Select Shutdown, the Device will be turned off.
If you do not have shutdown authority, enter gesture or password first.
System Settings
Configure the CVI DVR system settings, including general and holiday settings, RS232, security, maintenance, export/import, restoring defaults, and upgrading.
Web Operations
How to connect the Sapphire Series CVI DVR to the network, log in to the web interface, reset a forgotten admin password, and navigate the web main menu.