LogoCentar za pomoć LTS Connect
Početna stranica
CVI DVR User ManualIntroductionGetting StartedThe Grand TourConnecting BasicsInitial SettingsLive ViewControlling PTZ CamerasCamera SettingsRemote DevicesRecord and Snapshot SettingsPlaying Back VideoAlarm Events SettingsSmart DetectionIoT FunctionPOS and BackupNetwork ManagementAccount SettingsAudio ManagementStorage ManagementSystem SettingsViewing InformationWeb OperationsFAQAppendix
ManualSapphire Series - LTDHCVI DVR User Manual

Getting Started

How to check the components, install the HDD for each chassis form factor (Smart 1U, E Model, MINI 1U and Compact 1U, Cooper 1U, 1U, 1.5U, and 2U), and mount the DVR into a rack.

Checking the Components

The actual appearance, component, or quantity might be different depending on the model you purchased.

When you receive the Device, please check against the following checking list. If any of the items are missing or damaged, contact the local retailer or after-sales engineer immediately.

SequenceChecking itemsRequirement
1PackageAppearanceNo obvious damage.
Packing materialsNo broken or distorted positions that could be caused by hit. Not torn up.
2LabelsLabels on the deviceDo not tear up or throw away the labels; otherwise the warranty services are not ensured. You need to provide the serial number of the product when you call the after-sales service.
3DeviceAppearanceNo obvious damage.
Data cables, power cables, fan cables, mainboardNo connection loose.

Installing HDD

Please check whether the HDD is already installed in the Device when you first time using the Device. It is suggested to use the HDD recommended officially. Do not use the PC HDD.

Shut down the device and then unplug the power cable before you open the case to replace the HDD.

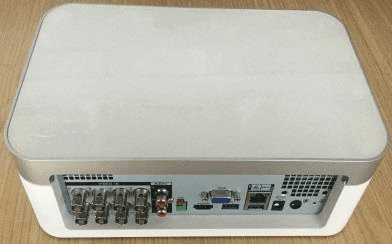
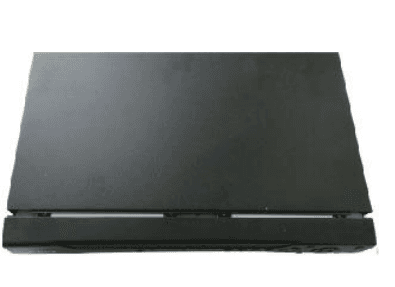
Smart 1U
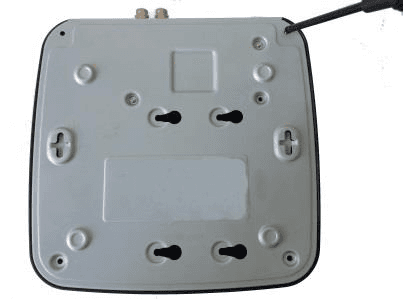
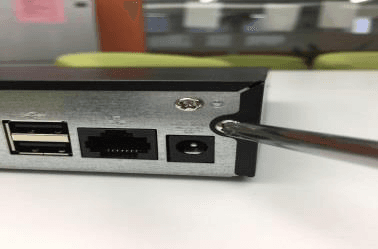
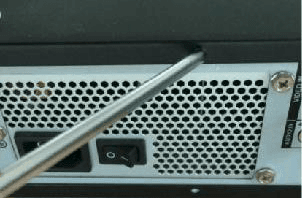
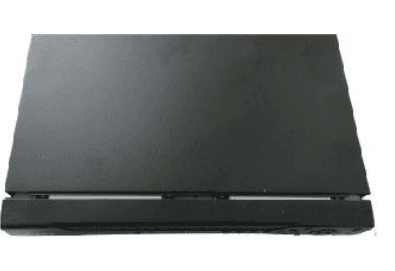
Remove the cover

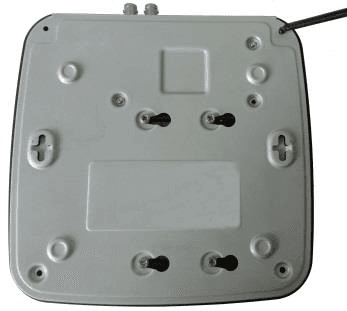
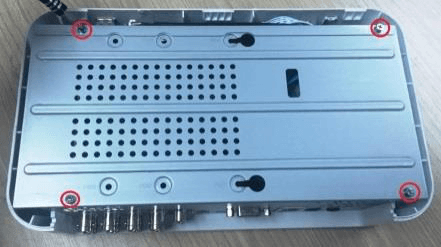
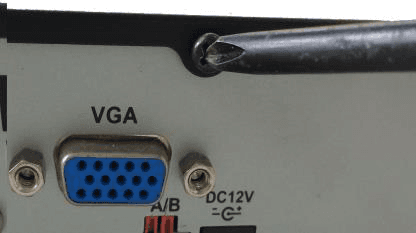
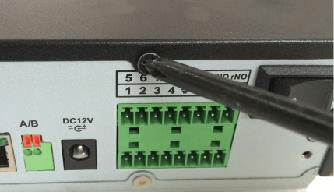
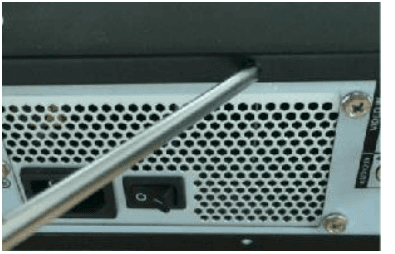
Remove the screws to take off the cover.

Removing the cover screws from the bottom of a Smart 1U DVR with a screwdriver

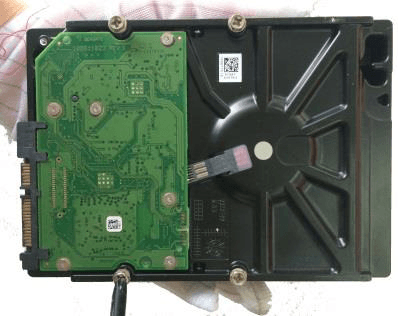
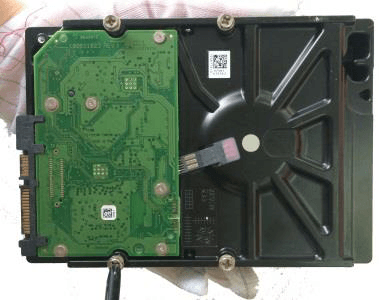
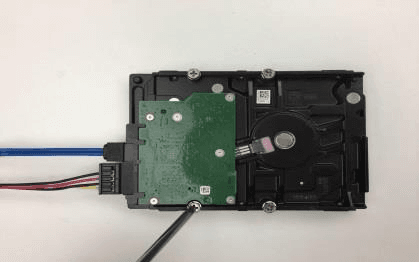
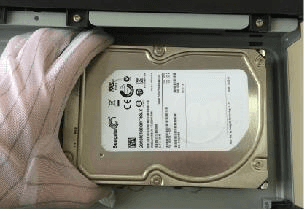
Fix the screws on the HDD

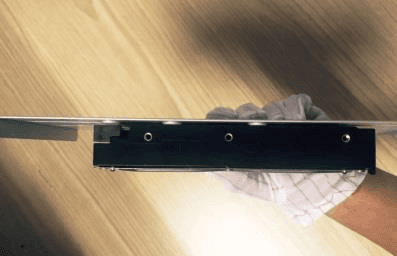
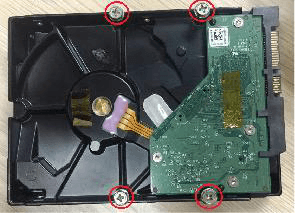
Fix the screws on the HDD but do not fasten them.

Hand holding a hard disk drive with screws fitted but not fastened

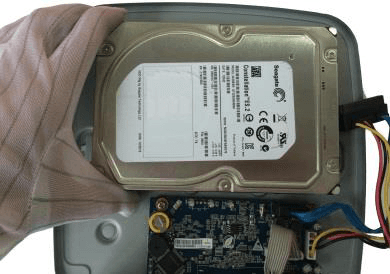
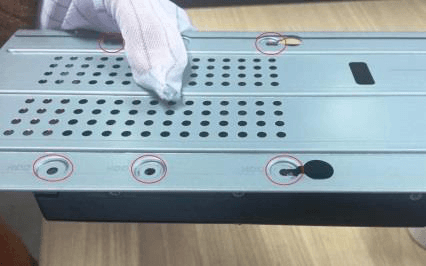
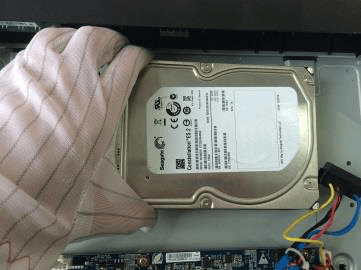
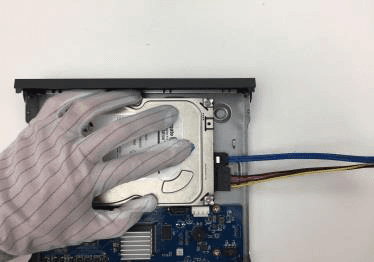
Place the HDD

Match the screws with the holes on the DVR to place the HDD.

HDD lowered into the open Smart 1U chassis to align its screws with the holes

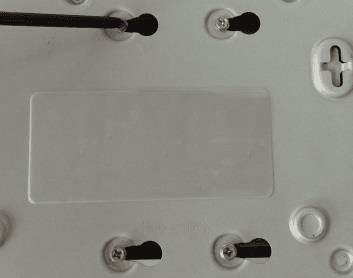
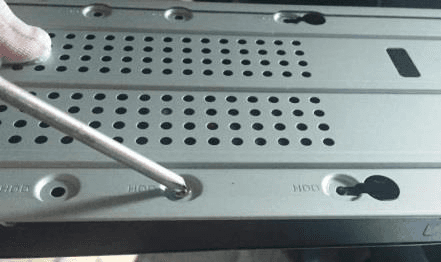
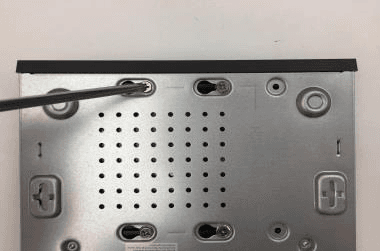
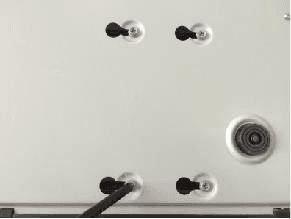
Fasten the screws from below

Turn the DVR upside down to see the screws and then fasten them.

DVR turned upside down to fasten the HDD mounting screws from below

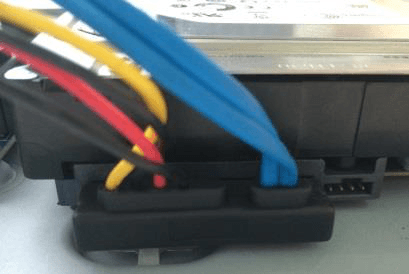
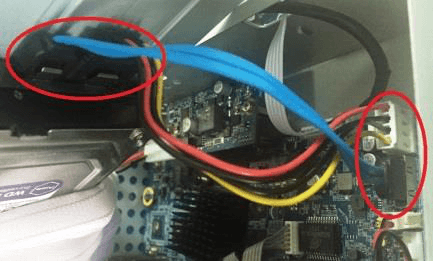
Connect the cables

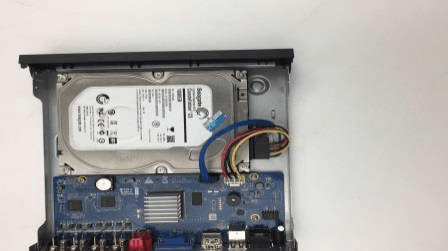
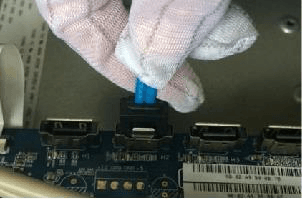
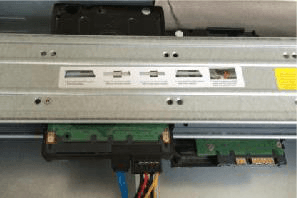
Use the HDD cable and power cable to connect HDD and mainboard.

HDD data cable and power cable connected between the HDD and the mainboard

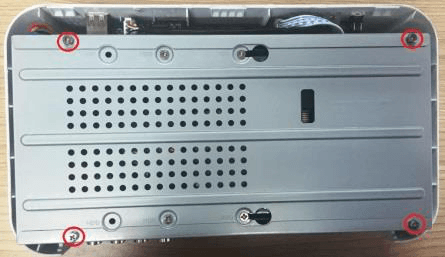
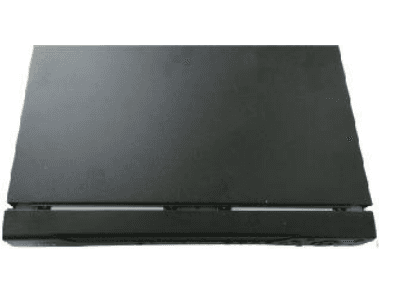
Replace the cover

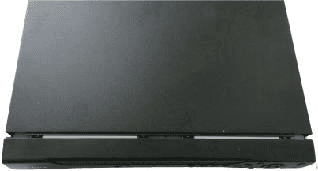
Put back the cover and fasten the screws.

Replacing the Smart 1U cover and fastening the screws

E Model

Installing Battery

The battery is only provided with some models.
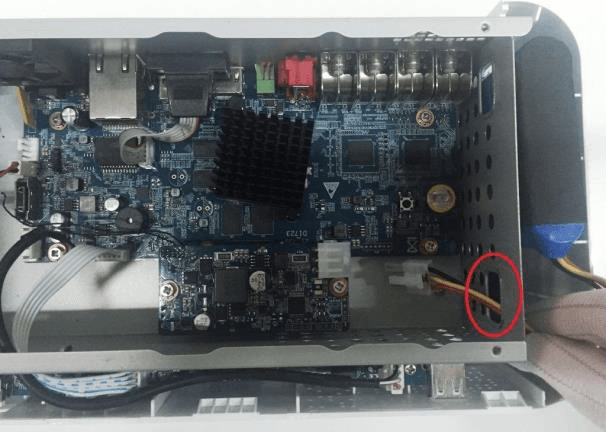
Pull the battery cable through

Pull the battery cable through the hole.

Battery cable pulled through the hole in the mainboard mounting area

Connect the cable

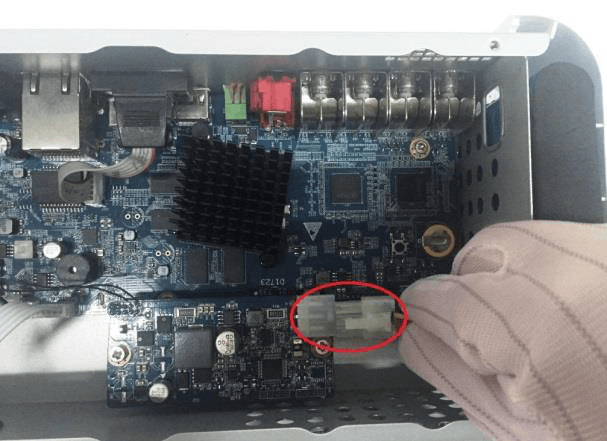
Connect to the cable into the port.

Battery cable connected into its port on the board

Installing HDD

Skip step 6 if the battery is not equipped with the model you purchased.
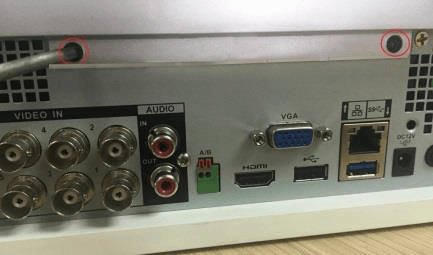
Remove the cover

Remove the screws to take off the cover.

Removing the cover screws from the E Model chassis

Remove the bracket

Remove the screws to take off the bracket.

Removing the screws that hold the HDD bracket

Put the HDD onto the bracket

Put the HDD onto the bracket.

HDD placed onto the removed mounting bracket

Align the holes

Match the holes on the bracket with the screw holes on HDD.

Bracket holes aligned with the screw holes on the HDD

Fix the HDD onto the bracket

Use screws to fix the HDD onto the bracket.

Screws fixing the HDD onto the bracket

Connect the battery cable (optional)

(Optional) Pull the battery cable through the hole to connect into the cable port.
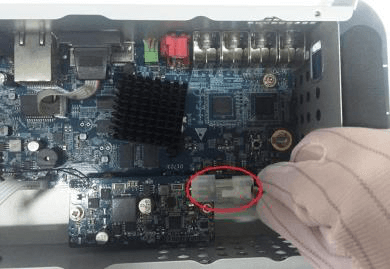
Battery cable pulled through the hole and connected into the cable port

Connect the cables

Use the HDD cable and power cable to connect HDD and mainboard.

HDD cable and power cable connected between the HDD and the mainboard

Install the bracket back

Install the bracket back and then fasten the screws.

Bracket installed back into the chassis with screws fastened

Replace the cover

Put back the cover and fasten the screws.

Replacing the E Model cover and fastening the screws

MINI 1U and Compact 1U

Remove the rear-panel screws

Remove the screws on the rear panel.

Removing the screws on the rear panel of the MINI 1U chassis

Fix the screws on the HDD

Fix the screws on the HDD, but do not be fastened.

Screws fitted on the HDD but not fastened

Place the HDD

Place the HDD onto the Device.

HDD placed onto the open Device

Fix the screws from the back

Turn the device to see the back side of it. Align the screws of the HDD with the holes on the back of the device, and then fix the screws.
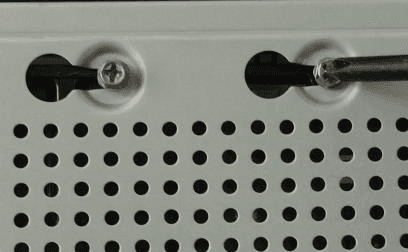
Device turned over to align and fix the HDD screws through the holes on the back

Connect the cables

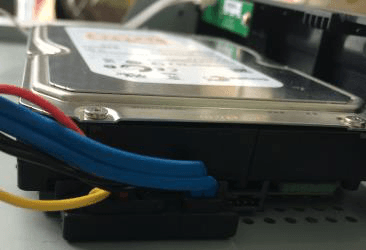
Use the HDD cable and power cable to connect HDD and mainboard.

HDD cable and power cable connected between the HDD and the mainboard

Replace the cover

Put back the cover and fix the screws.

Replacing the MINI 1U cover and fixing the screws

Cooper 1U

Remove the cover

Remove the screws on the cover.

Removing the screws on the Cooper 1U cover

Connect the cables to the HDD

Connect HDD cable and power cable to HDD, and fasten the screws in HDD.

HDD cable and power cable connected to the HDD with its screws fastened

Align the screws

Align the screws of the HDD with the holes on the back of the device.

HDD screws aligned with the holes on the back of the device

Fasten the screws from below

Turn the Device upside down and then fasten the screws.

Device turned upside down to fasten the HDD screws

Connect the cables to the mainboard

Connect the HDD cable and the power cable to the mainboard.

HDD cable and power cable connected to the mainboard

Replace the cover

Put back the cover and fasten the screws.

Replacing the Cooper 1U cover and fastening the screws

1U

Remove the cover

Remove the screws on the cover.

Removing the screws on the 1U cover

Fix the screws onto the HDD

Fix the screws onto the HDD, but do not be fastened.

Screws fixed onto the HDD but not fastened

Put the HDD into the Device

Put the HDD into the Device.

HDD put into the open 1U Device

Fix the screws from the back

Turn the device to see the back side of it. Align the screws of the HDD with the holes on the back of the device, and then fix the screws.
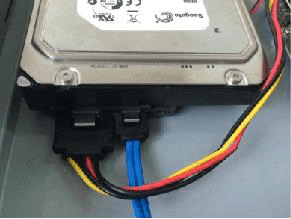
Device turned over to align and fix the HDD screws through the holes on the back

Connect the cables

Use the HDD cable and power cable to connect HDD and mainboard.

HDD cable and power cable connected between the HDD and the mainboard

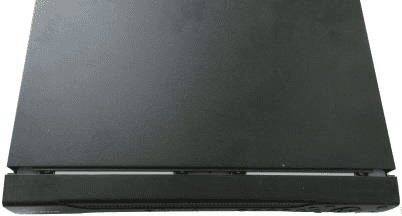
Replace the cover

Put back the cover and fix the screws.

Replacing the 1U cover with the chassis closed

1.5U

Remove the cover

Remove the screws on cover.

Removing the screws on the 1.5U cover

Fix the HDD onto the bracket

Use the screws to fix the HDD onto the bracket.

Screws fixing the HDD onto the mounting bracket

Connect the HDD cable to the HDD

Connect one end of HDD cable to the HDD.

One end of the HDD cable connected to the HDD

Connect the HDD cable to the mainboard

Connect the other end of HDD cable to the mainboard.

The other end of the HDD cable connected to the mainboard

Connect the power cable

Use the power cable to connect HDD and mainboard.

Power cable connecting the HDD and the mainboard

Replace the cover

Put back the cover and fix the screws.

Replacing the 1.5U cover with the chassis closed

2U

Remove the cover

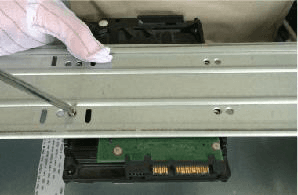
Remove the screws on the cover.

Removing the screws on the 2U cover with a screwdriver

Fix the HDD onto the bracket

Fix the HDD(s) onto the bracket. Remove the top bracket if you want to install HDD to the bottom bracket.
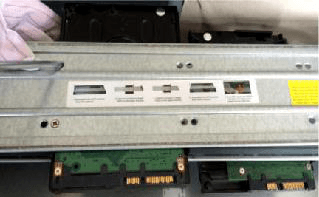
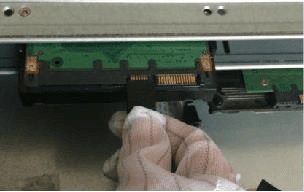
HDDs fixed onto the bracket inside the 2U chassis

Connect the HDD cable to the HDD

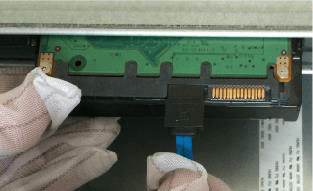
Connect one end of HDD cable to the HDD.

One end of the HDD cable connected to the HDD

Connect the HDD cable to the mainboard

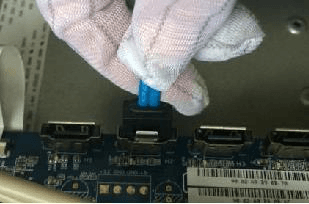
Connect the other end of HDD cable to the mainboard.

The other end of the HDD cable connected to the mainboard

Connect the power cable

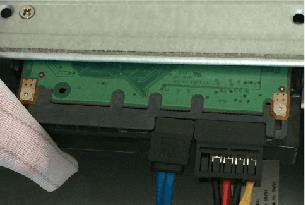
Use the power cable to connect HDD and mainboard.

Power cable connecting the HDD and the mainboard

Replace the cover

Put back the cover and fix the screws.

Replacing the 2U cover with the chassis closed

Installing Device into Rack

Only 1.5U and 2U Devices support this installation.

To install the DVR into rack, do the following:

Check temperature and spacing

Check whether the in-house temperature is lower than 35°C (95°F) and make sure the 15 cm (6 inches) spacing around the Device for ventilation.

Fix the DVR

Use six screws to fix the DVR on each side.

Install from the bottom up

Install from the bottom up.

Install accessories (optional)

(Optional) Install more accessories to the rack if needed.

If you want to install more accessories to the rack, take preventive measures to avoid power socket overload.

Introduction

Overview and key functions of the LTS Sapphire Series CVI DVR — smart detection, real-time surveillance, IoT management, storage, recording and playback, network operation, and more.

The Grand Tour

A reference tour of the LTS Sapphire Series CVI DVR front and rear panels for every model, plus remote control and mouse operations.

Sadržaj

Checking the Components
Installing HDD
Smart 1U
Remove the cover
Fix the screws on the HDD
Place the HDD
Fasten the screws from below
Connect the cables
Replace the cover
E Model
Installing Battery
Pull the battery cable through
Connect the cable
Installing HDD
Remove the cover
Remove the bracket
Put the HDD onto the bracket
Align the holes
Fix the HDD onto the bracket
Connect the battery cable (optional)
Connect the cables
Install the bracket back
Replace the cover
MINI 1U and Compact 1U
Remove the rear-panel screws
Fix the screws on the HDD
Place the HDD
Fix the screws from the back
Connect the cables
Replace the cover
Cooper 1U
Remove the cover
Connect the cables to the HDD
Align the screws
Fasten the screws from below
Connect the cables to the mainboard
Replace the cover
1U
Remove the cover
Fix the screws onto the HDD
Put the HDD into the Device
Fix the screws from the back
Connect the cables
Replace the cover
1.5U
Remove the cover
Fix the HDD onto the bracket
Connect the HDD cable to the HDD
Connect the HDD cable to the mainboard
Connect the power cable
Replace the cover
2U
Remove the cover
Fix the HDD onto the bracket
Connect the HDD cable to the HDD
Connect the HDD cable to the mainboard
Connect the power cable
Replace the cover
Installing Device into Rack
Check temperature and spacing
Fix the DVR
Install from the bottom up
Install accessories (optional)